
| Homebrew 3-Tube Regenerative |
|---|
|
|
| Some Kids 1923 Radio | |
|---|---|
|
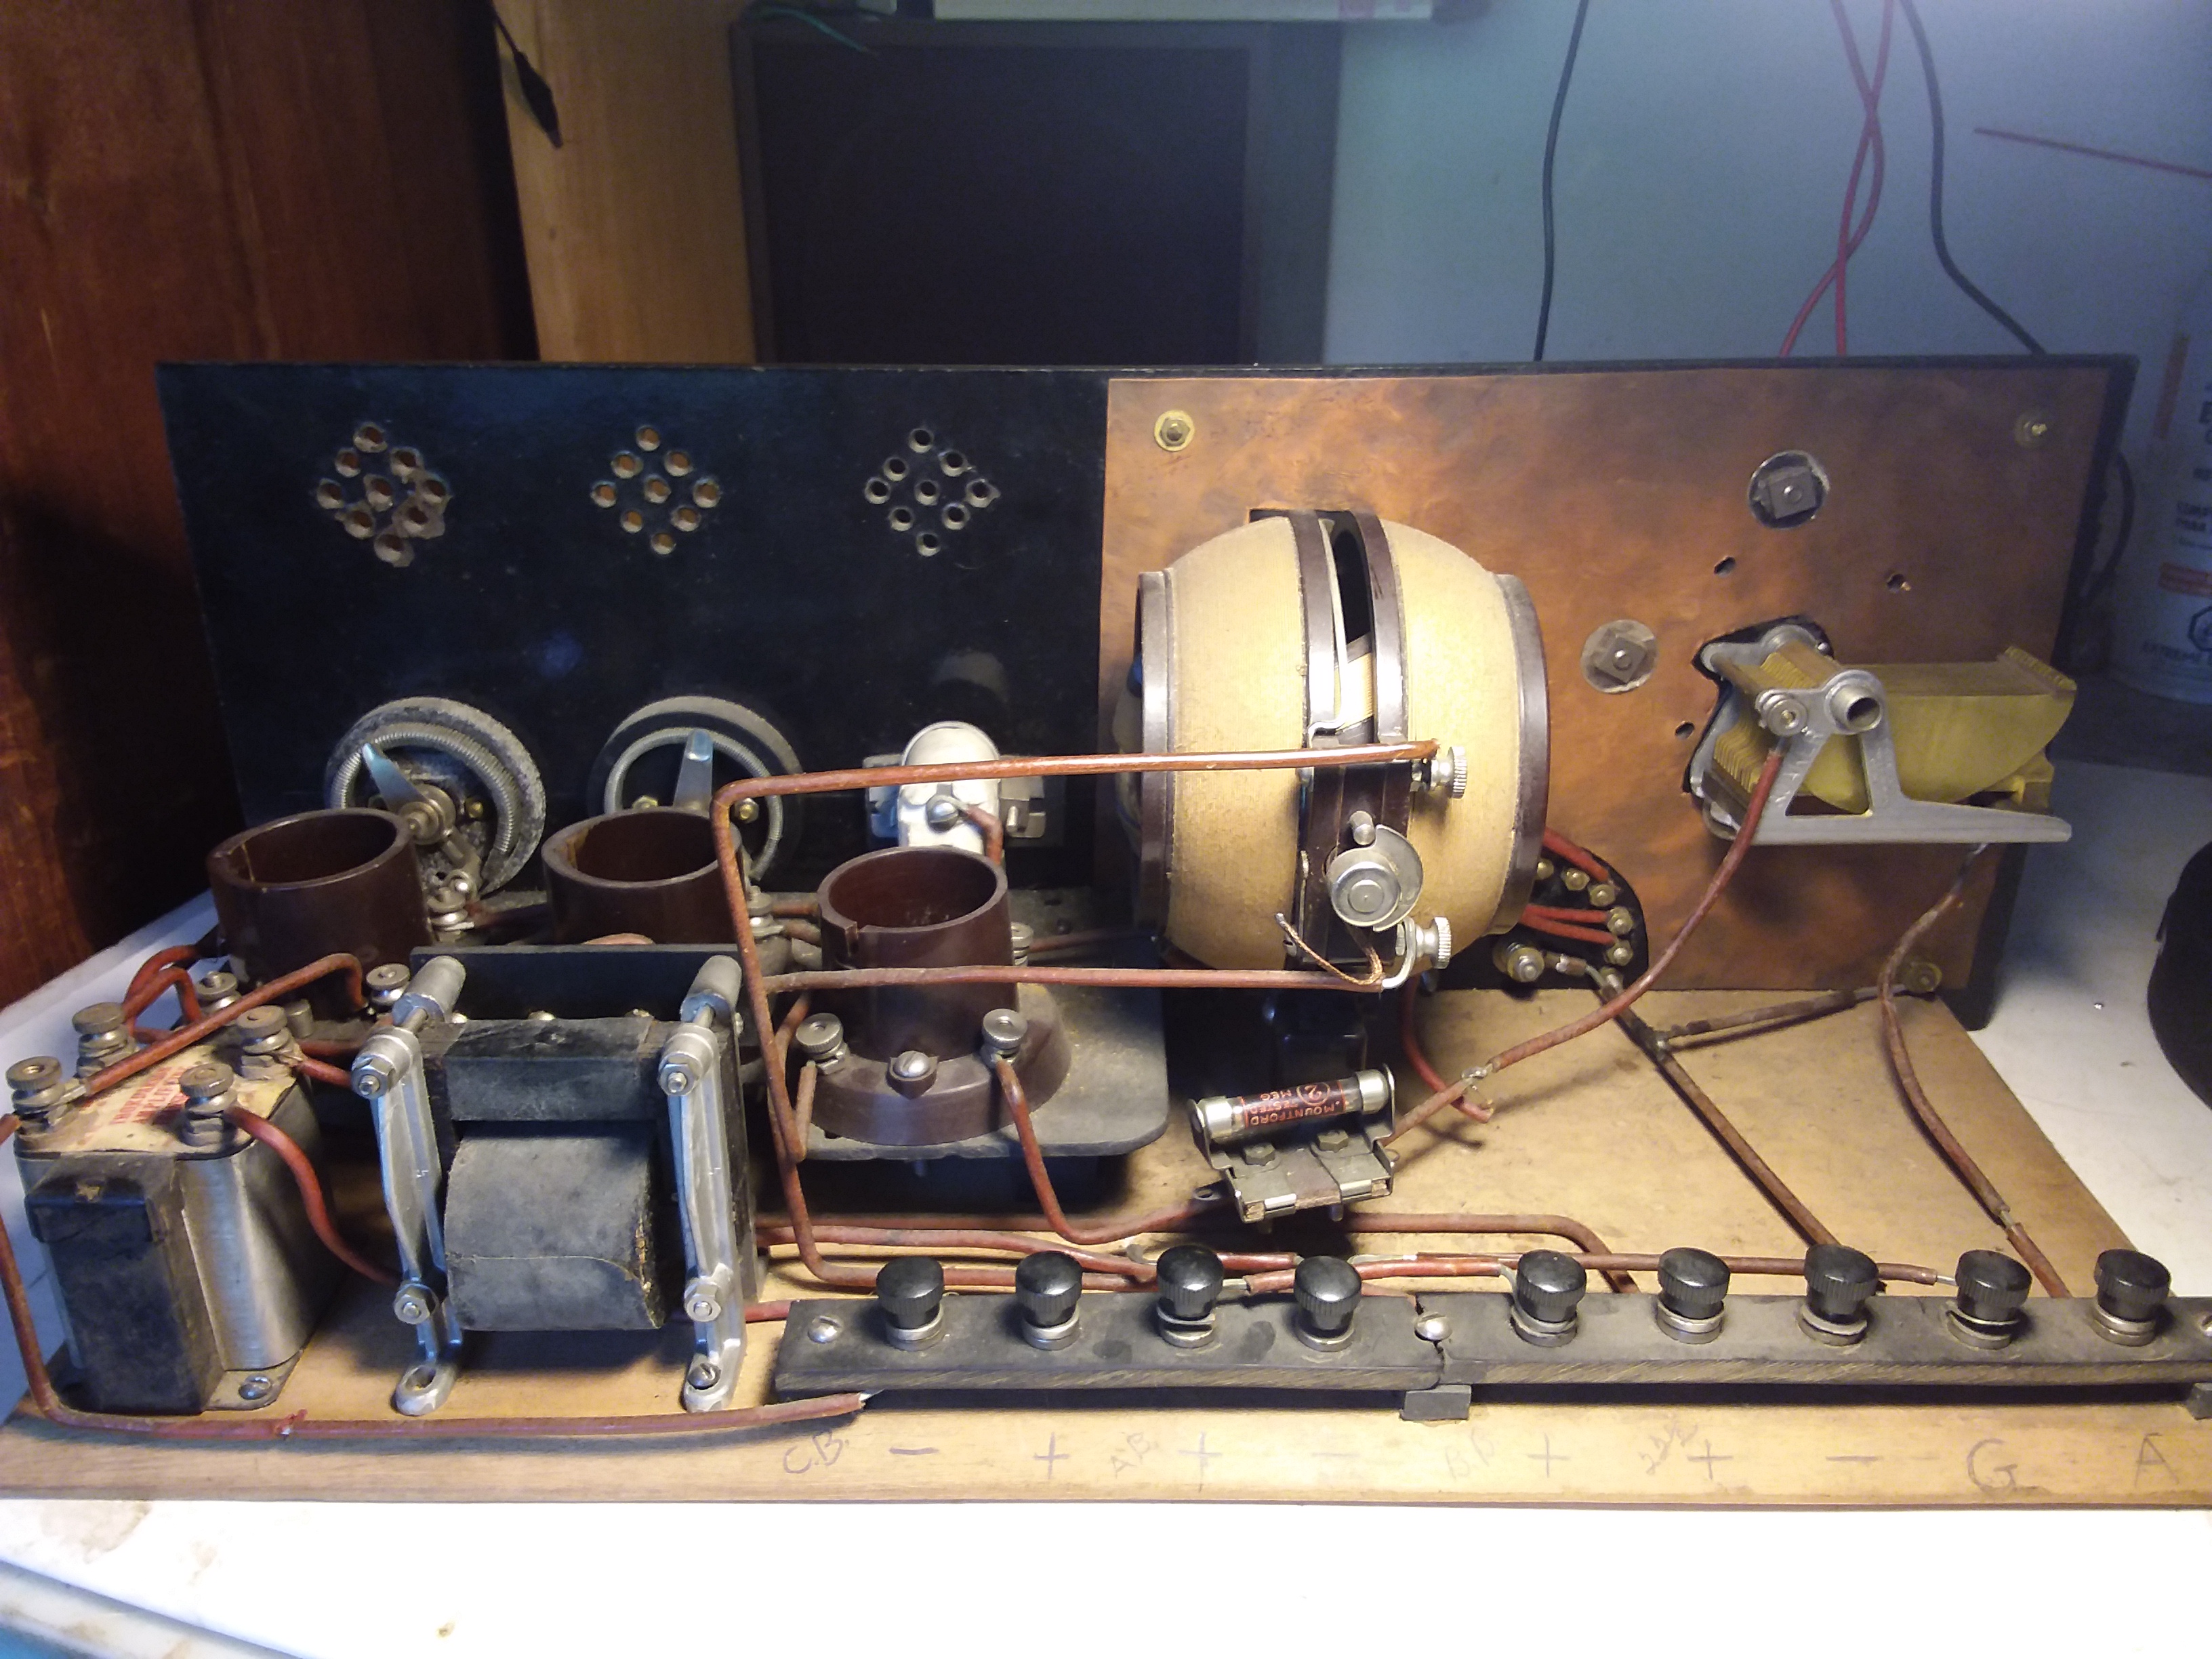
It's got no name. No labels. No professional decals. Just some scrawled pencil lettering on the back of the breadboard to identify the battery terminals. It has mismatched audio transformers and some inartfully cut holes in the copper shield around the tuning condenser. But it's solidly built and the wiring is well done. It's an early 1920's homebrew radio receiver. And the kid who built it knew what they were doing. |
|
|
|
|
Of the six wooden radios I got I chose this one first to dive into. The case was not a fine piece of furniture so I figured it would be a good test of my wood finishing abilities (or lack thereof). And tracing out the wiring would give me a good general feel for how a battery radio operated. There were no rivets anywhere. Everything was screwed together so I'm guessing this was not a kit. The kid built it from scratch. |
|
|
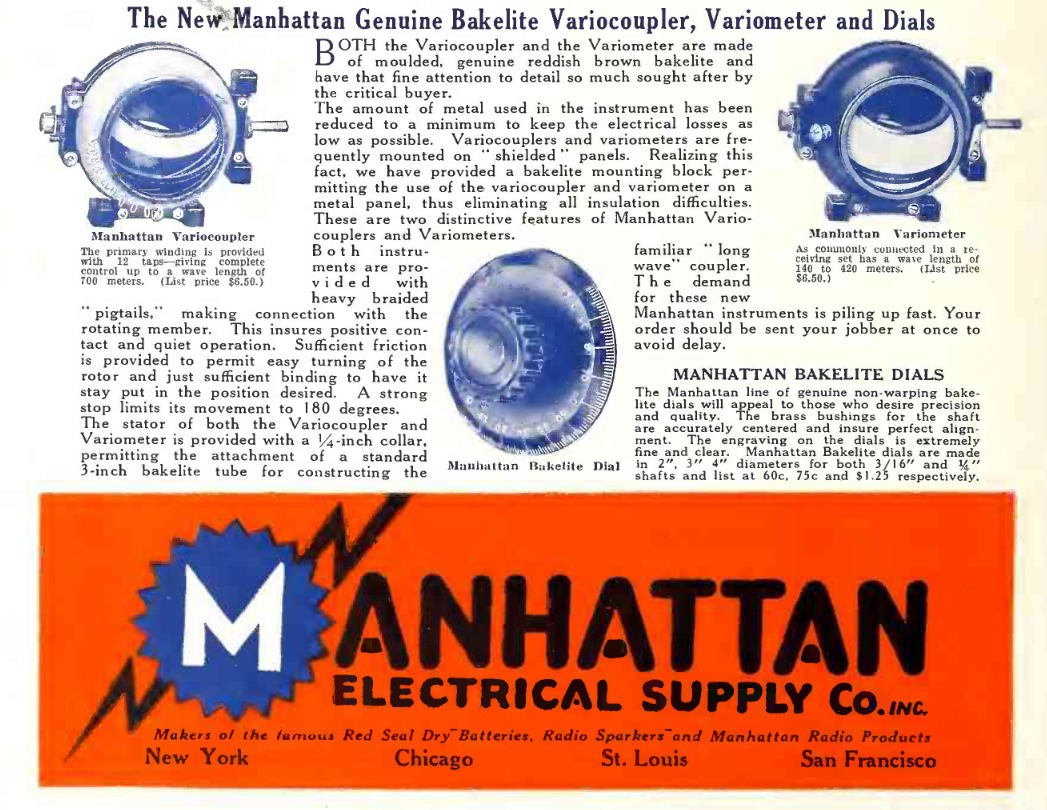
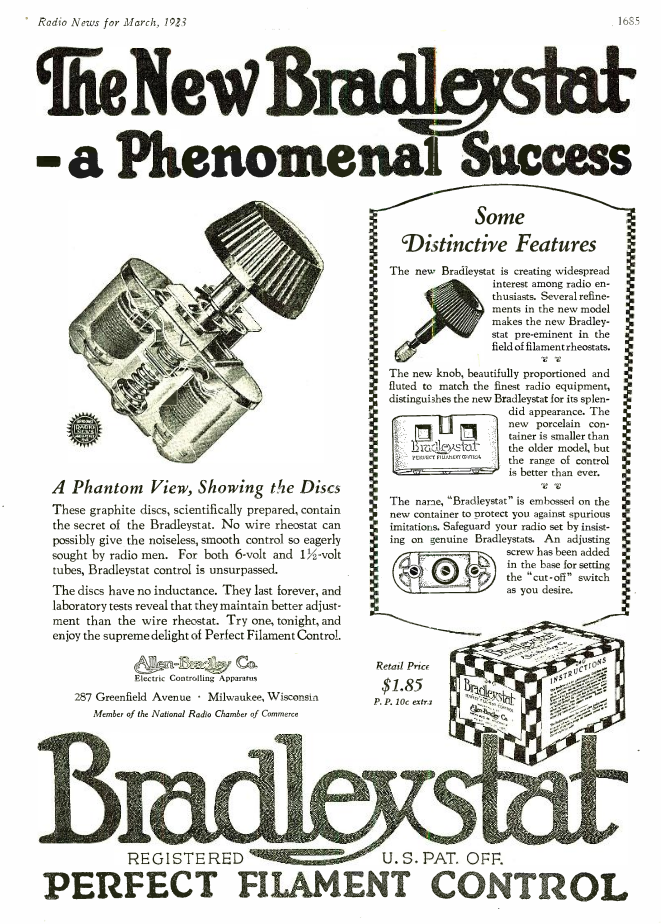
Parts List Manhattan No.2525 Variocoupler, in the tuner 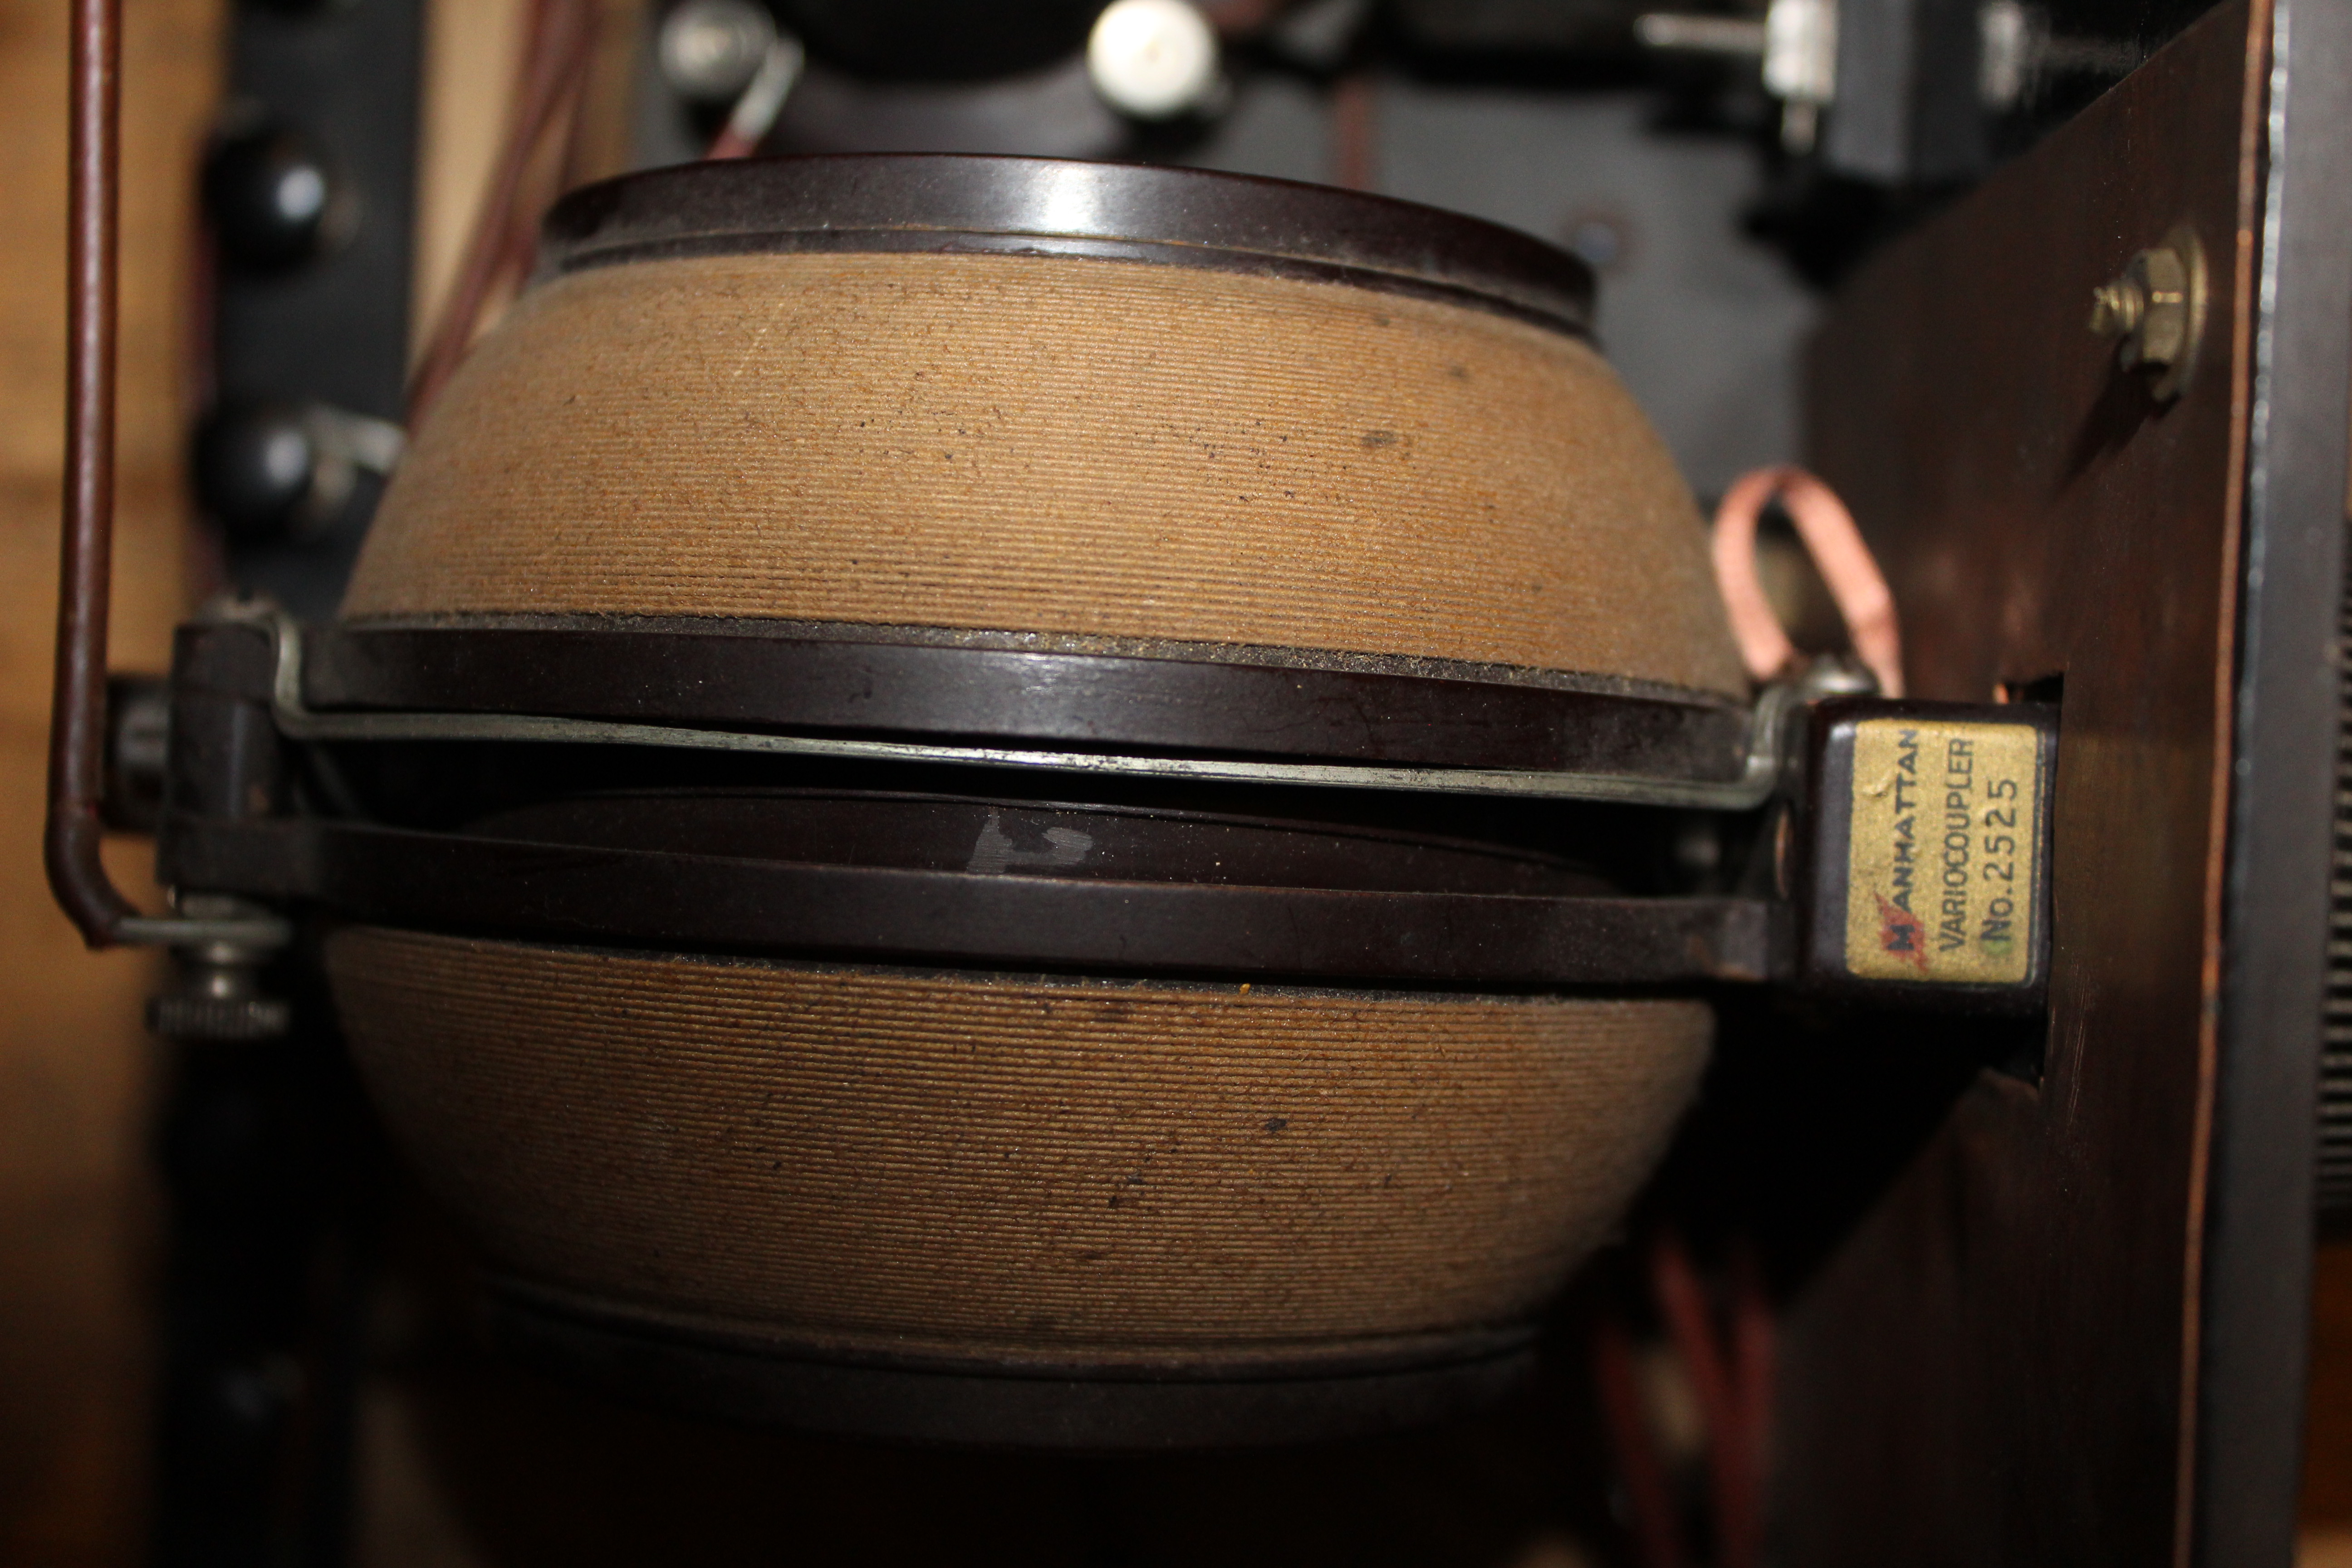
Bradleystat rheostat for the detector 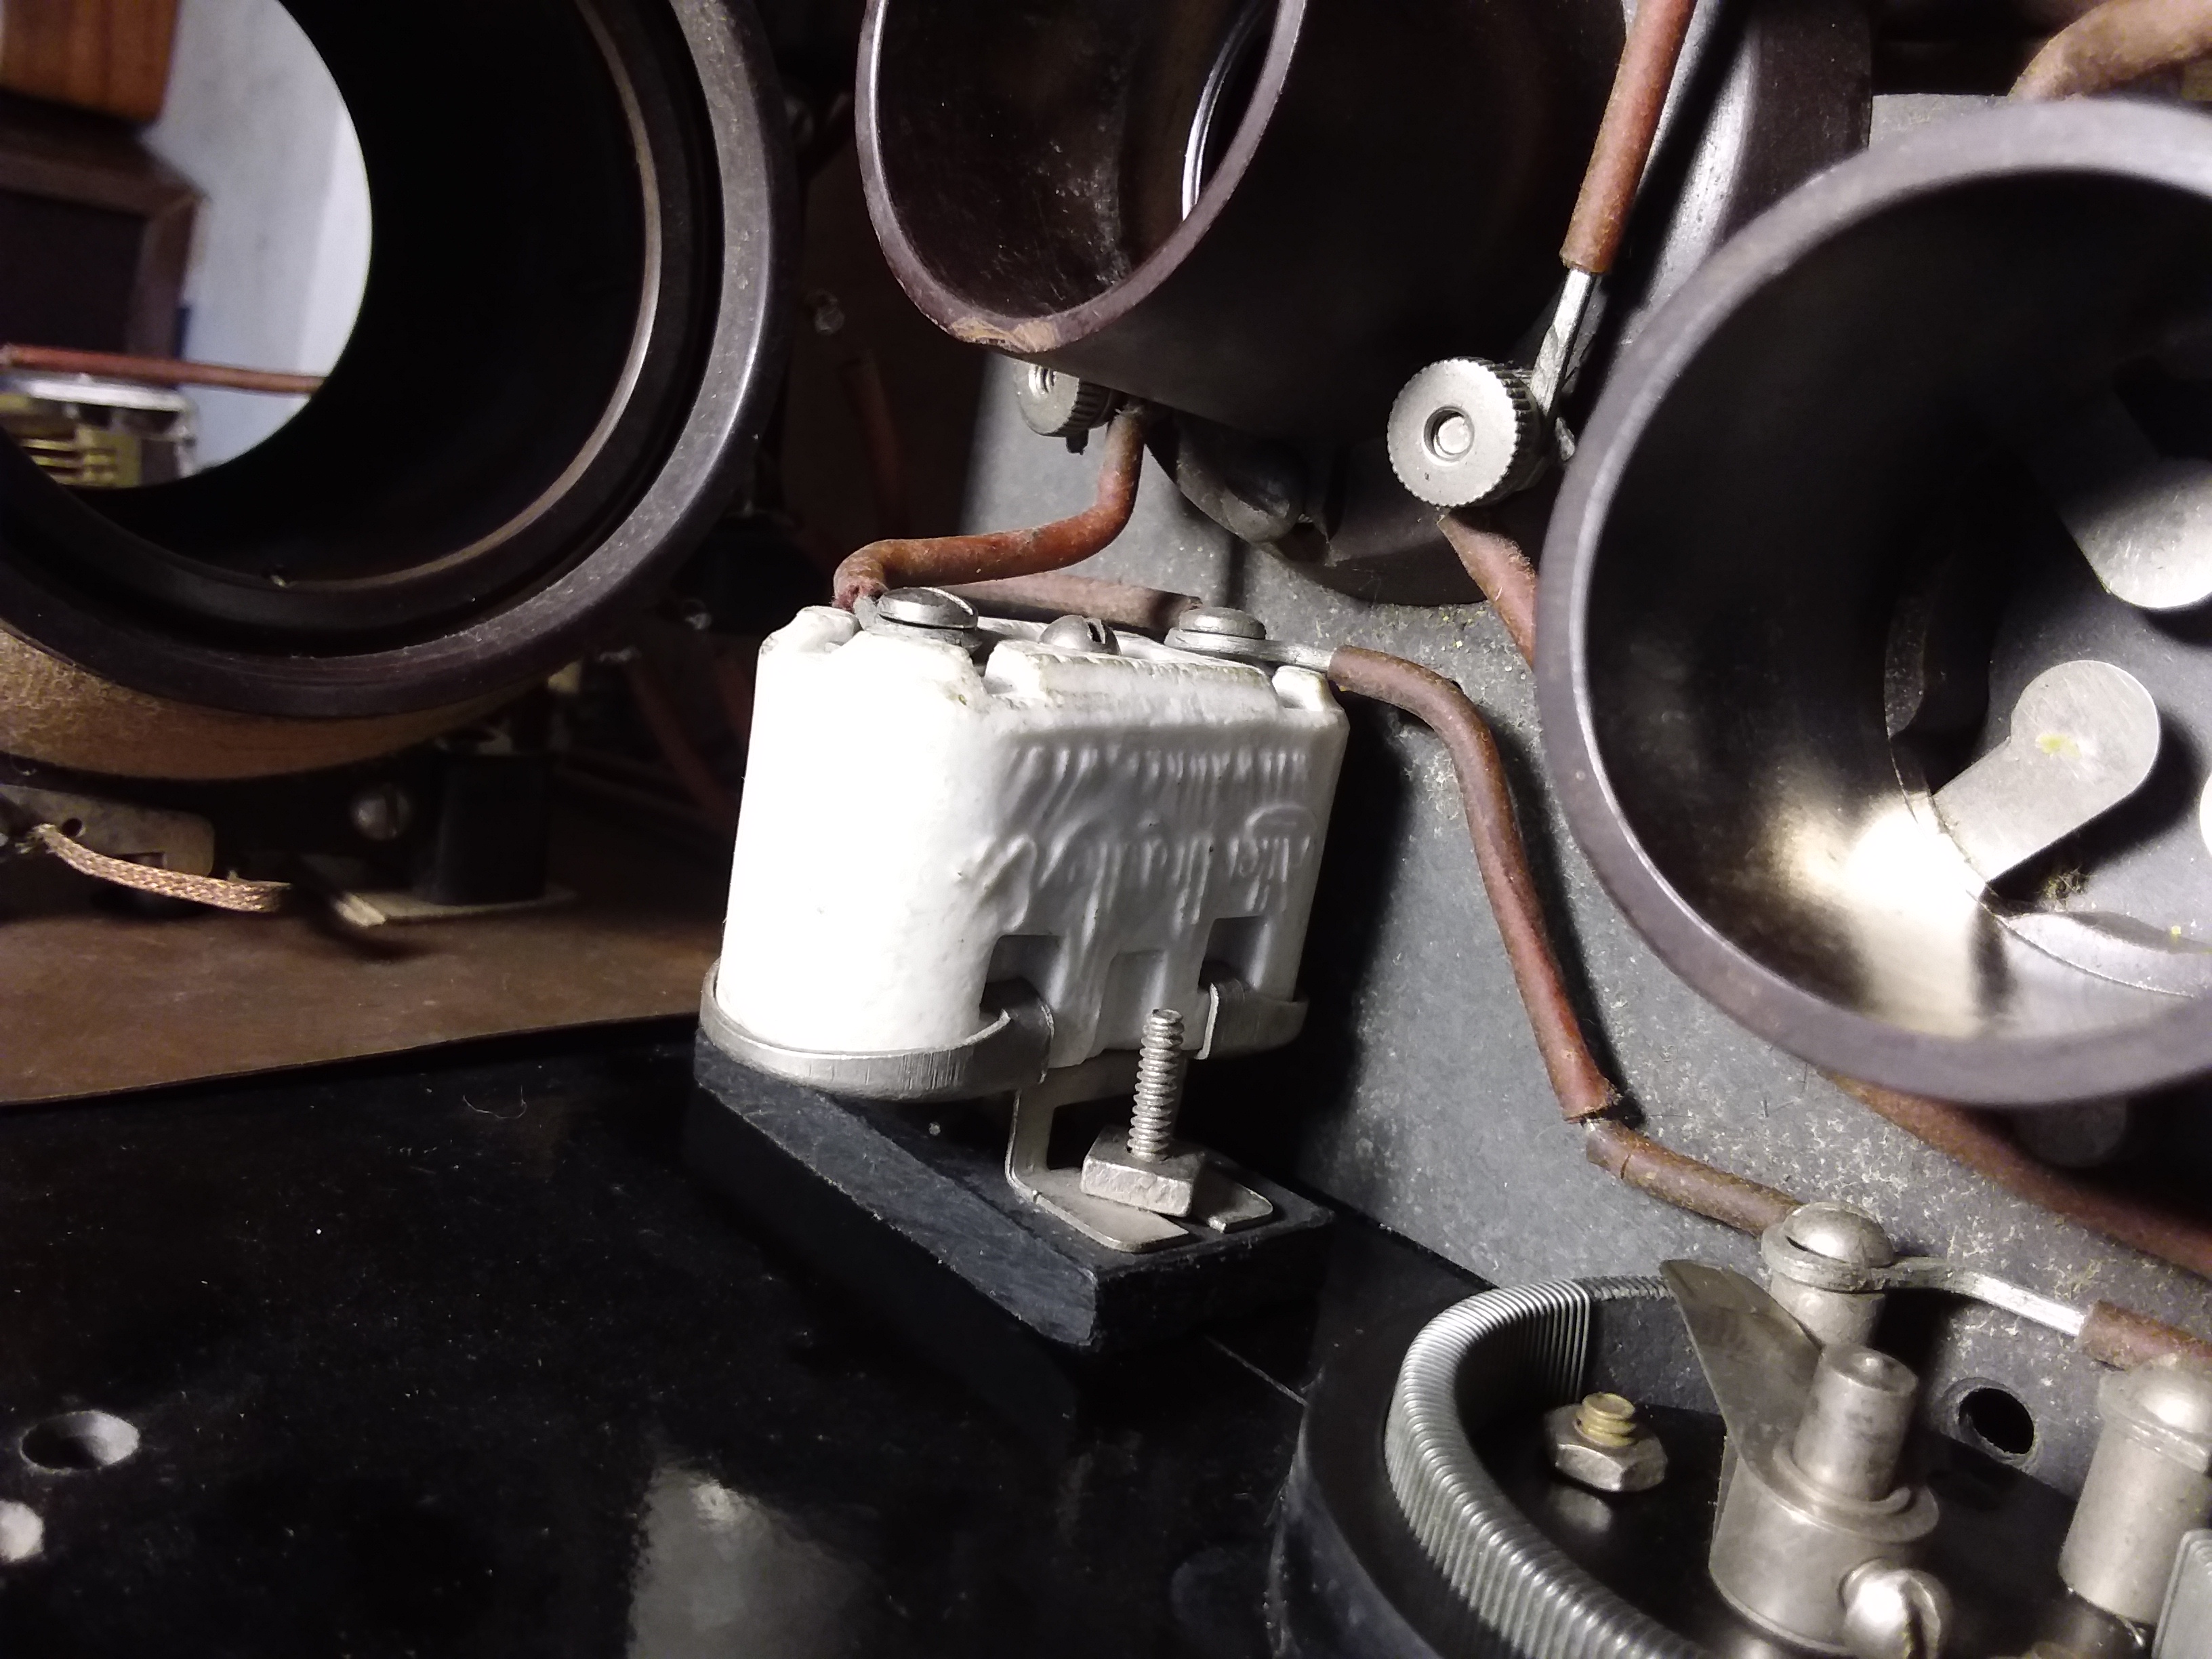
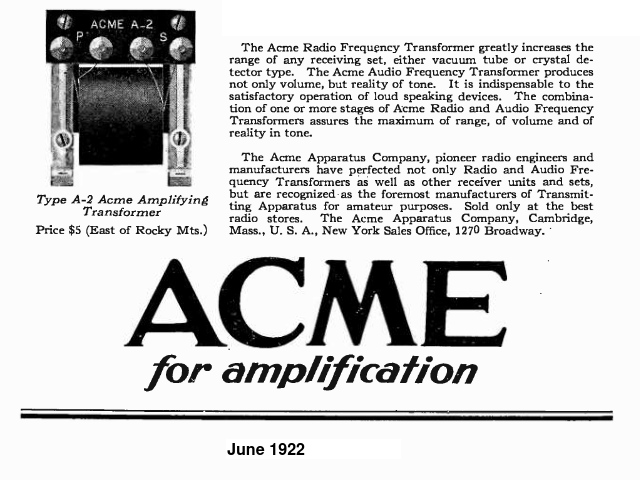
Acme A-2 for 1st AF transformer 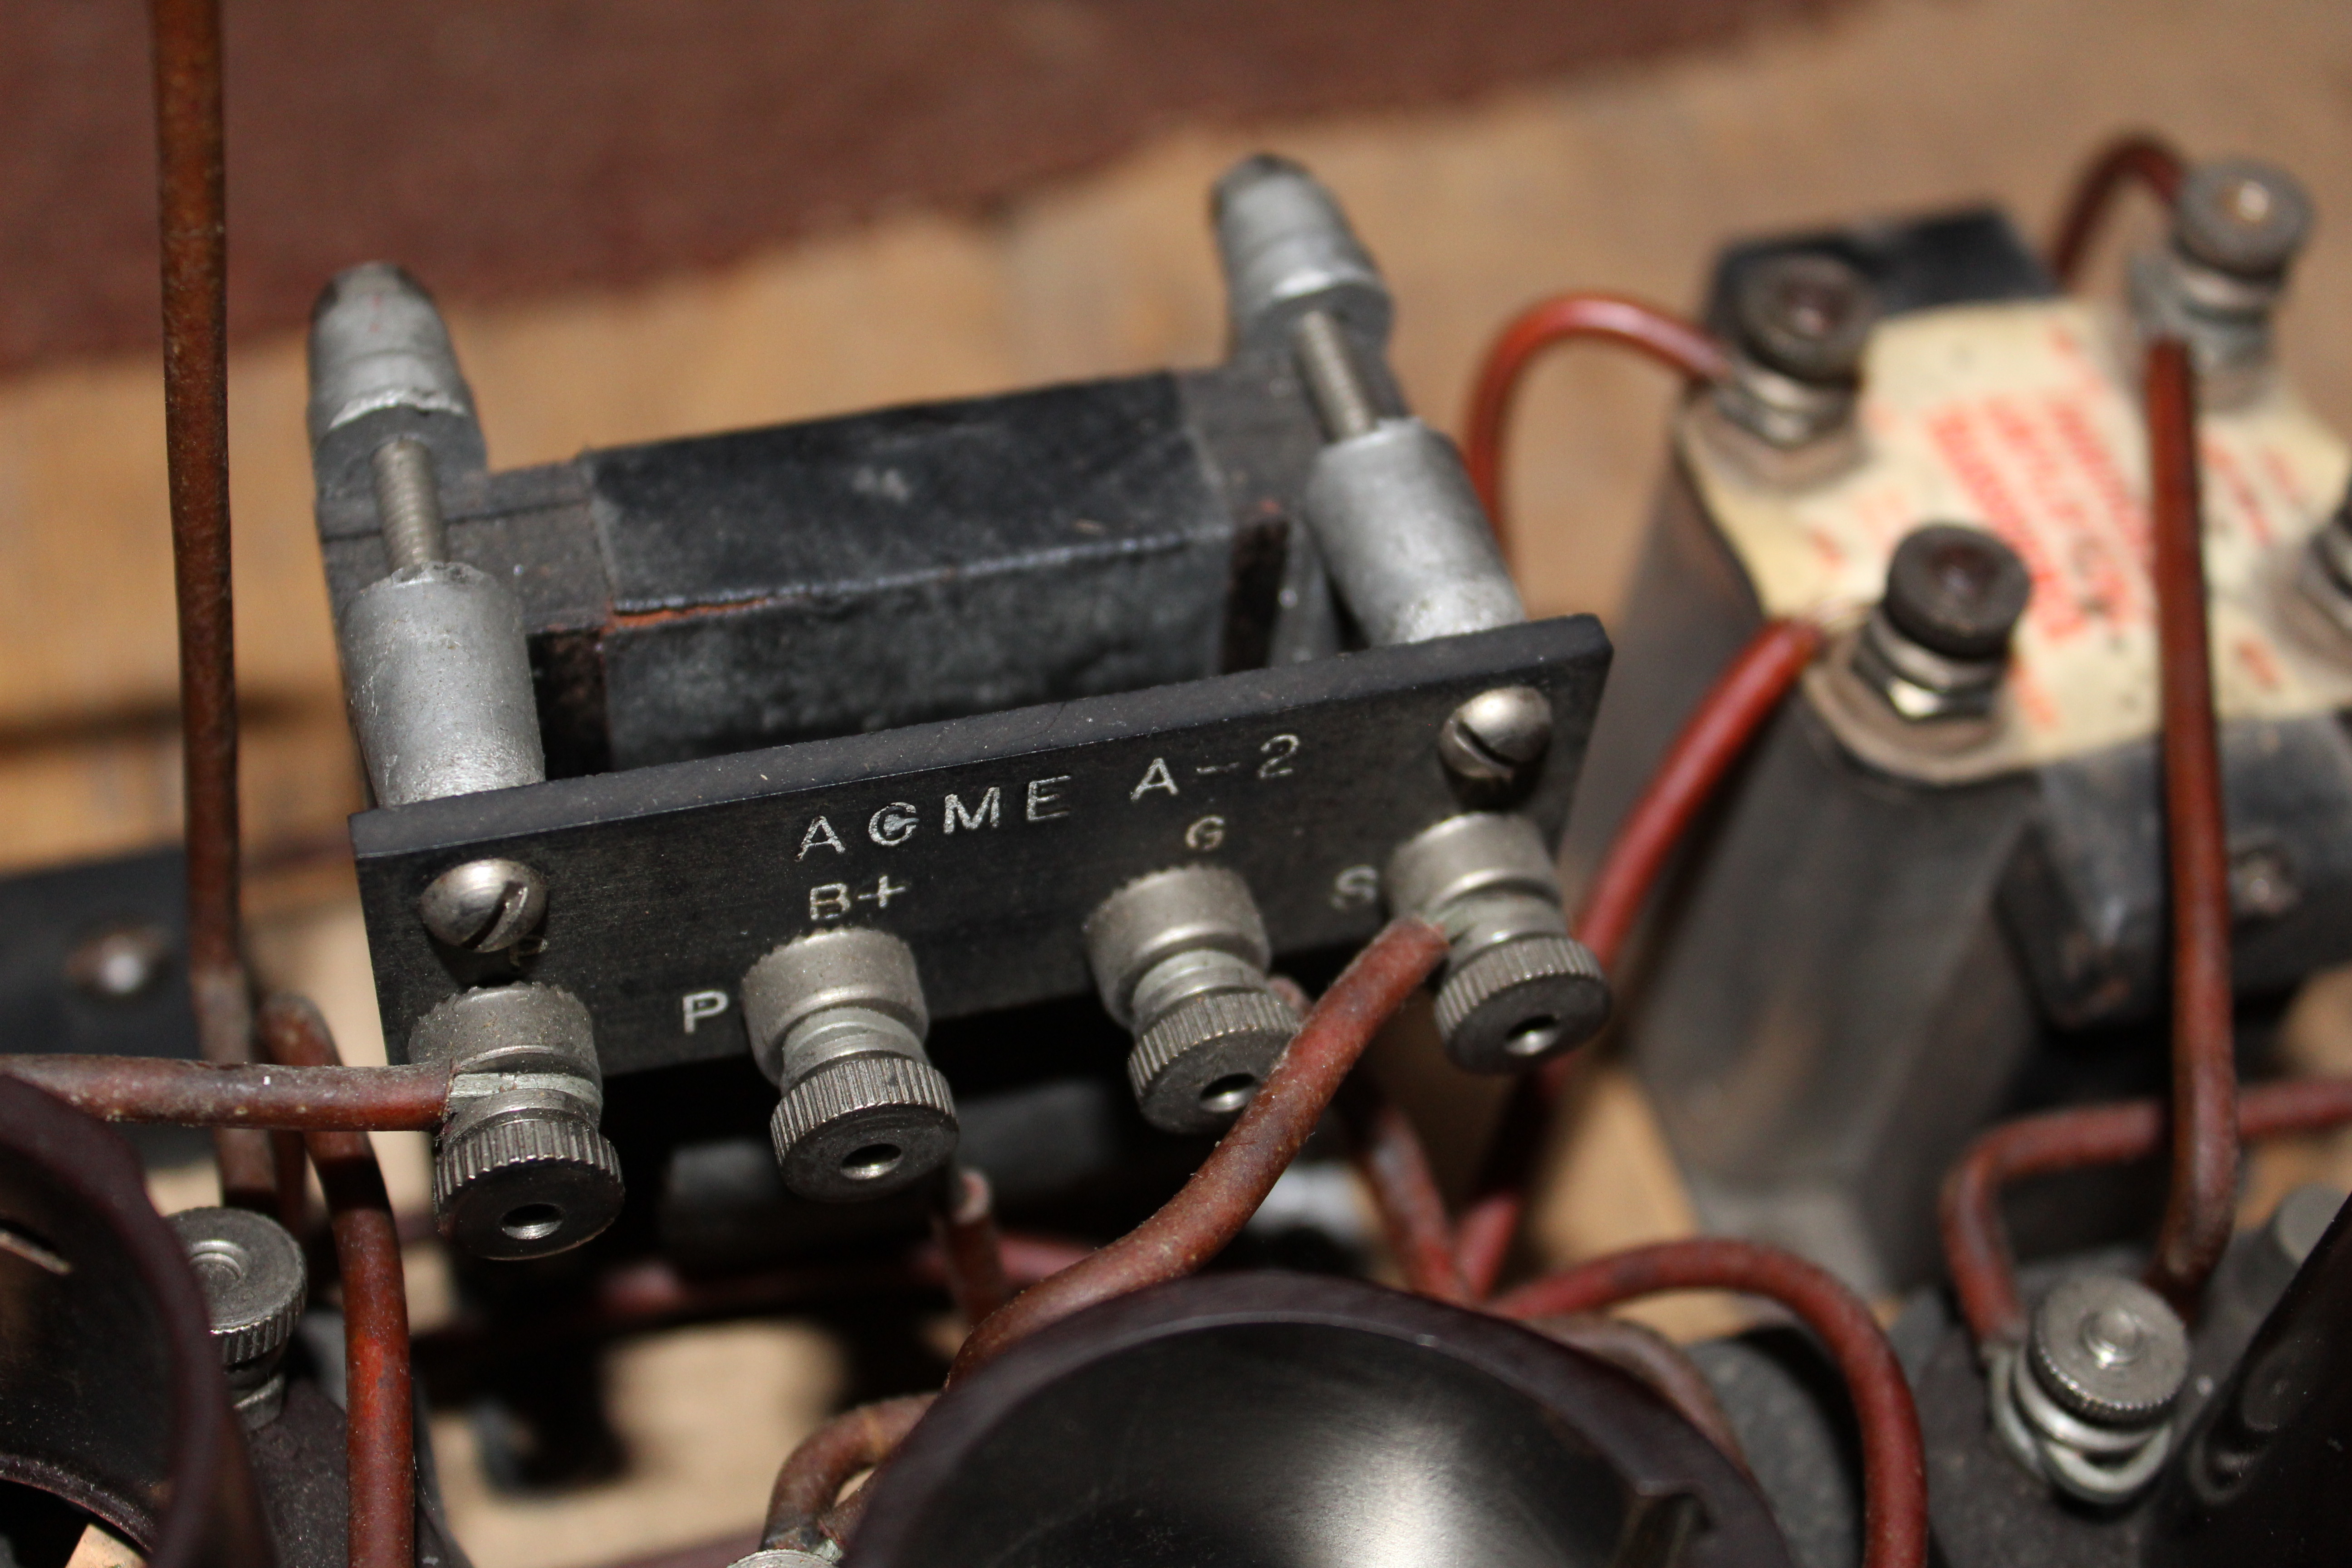
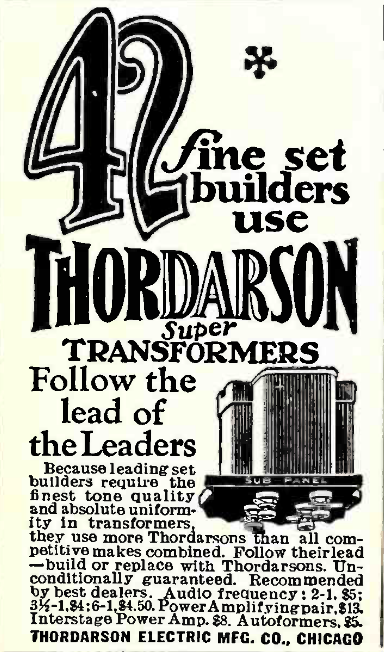
Thordarson 6 to 1 Amplifying Transformer for the audio output. 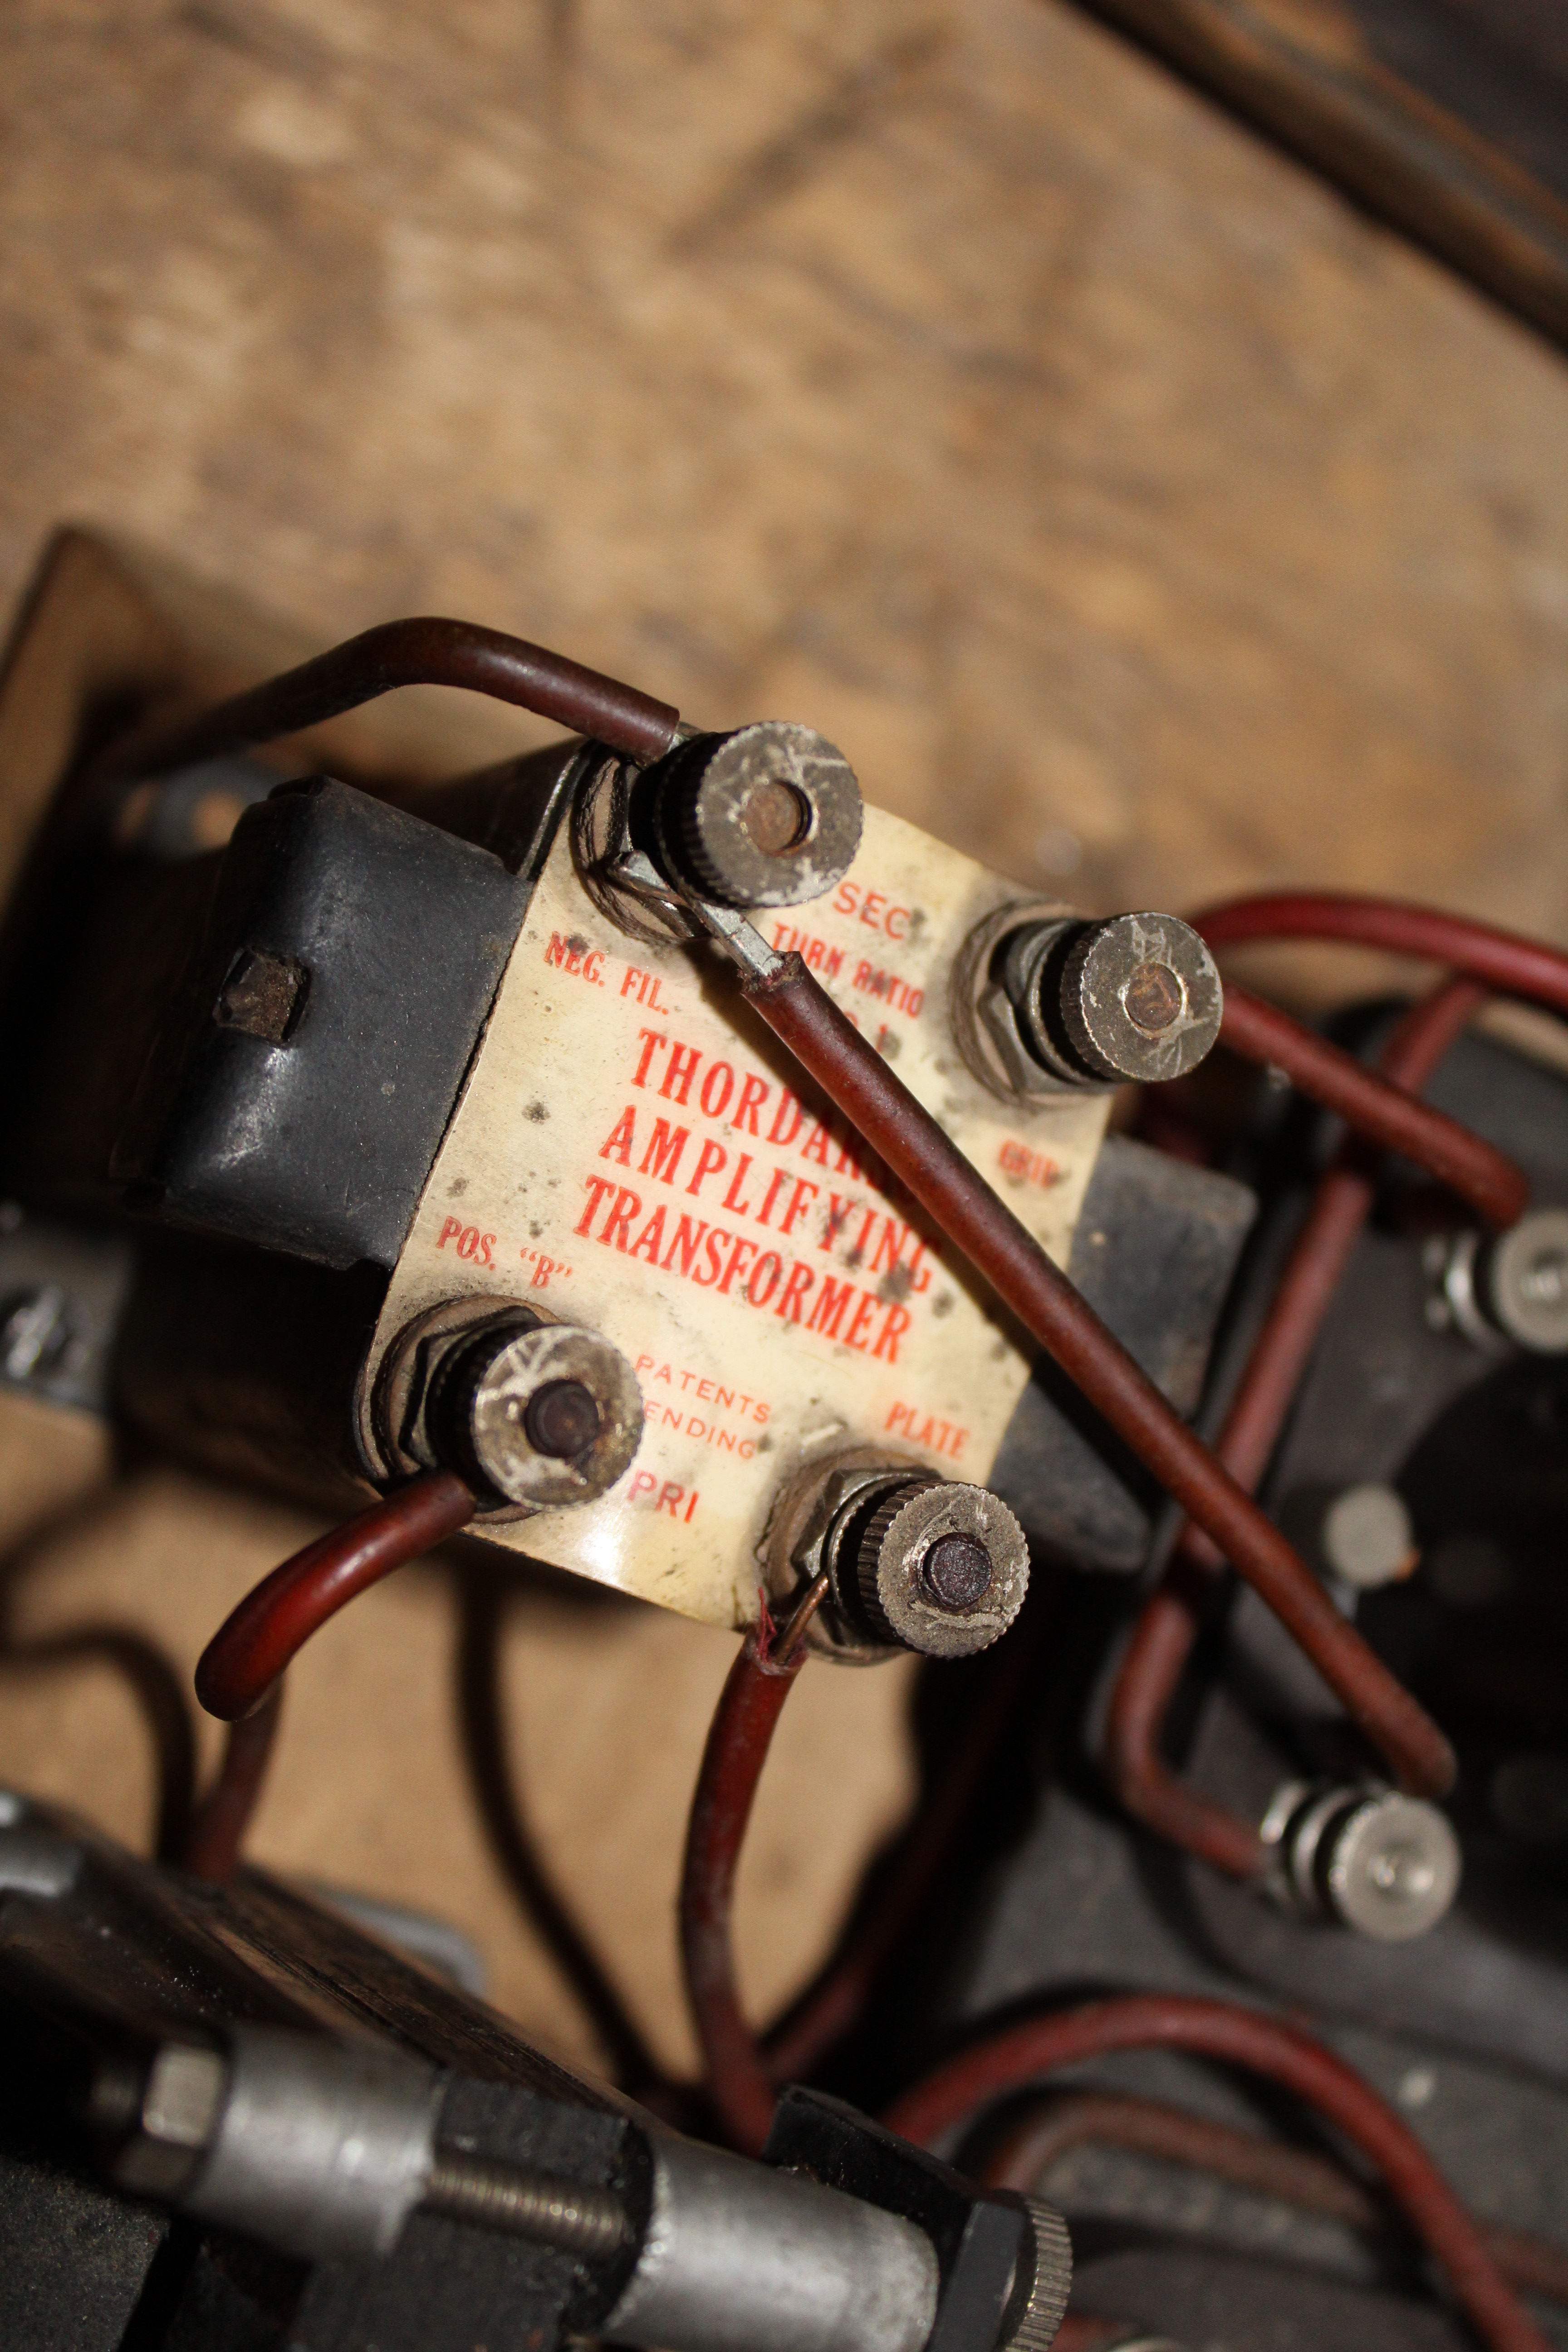
Mountford 2 Meg Grid Leak 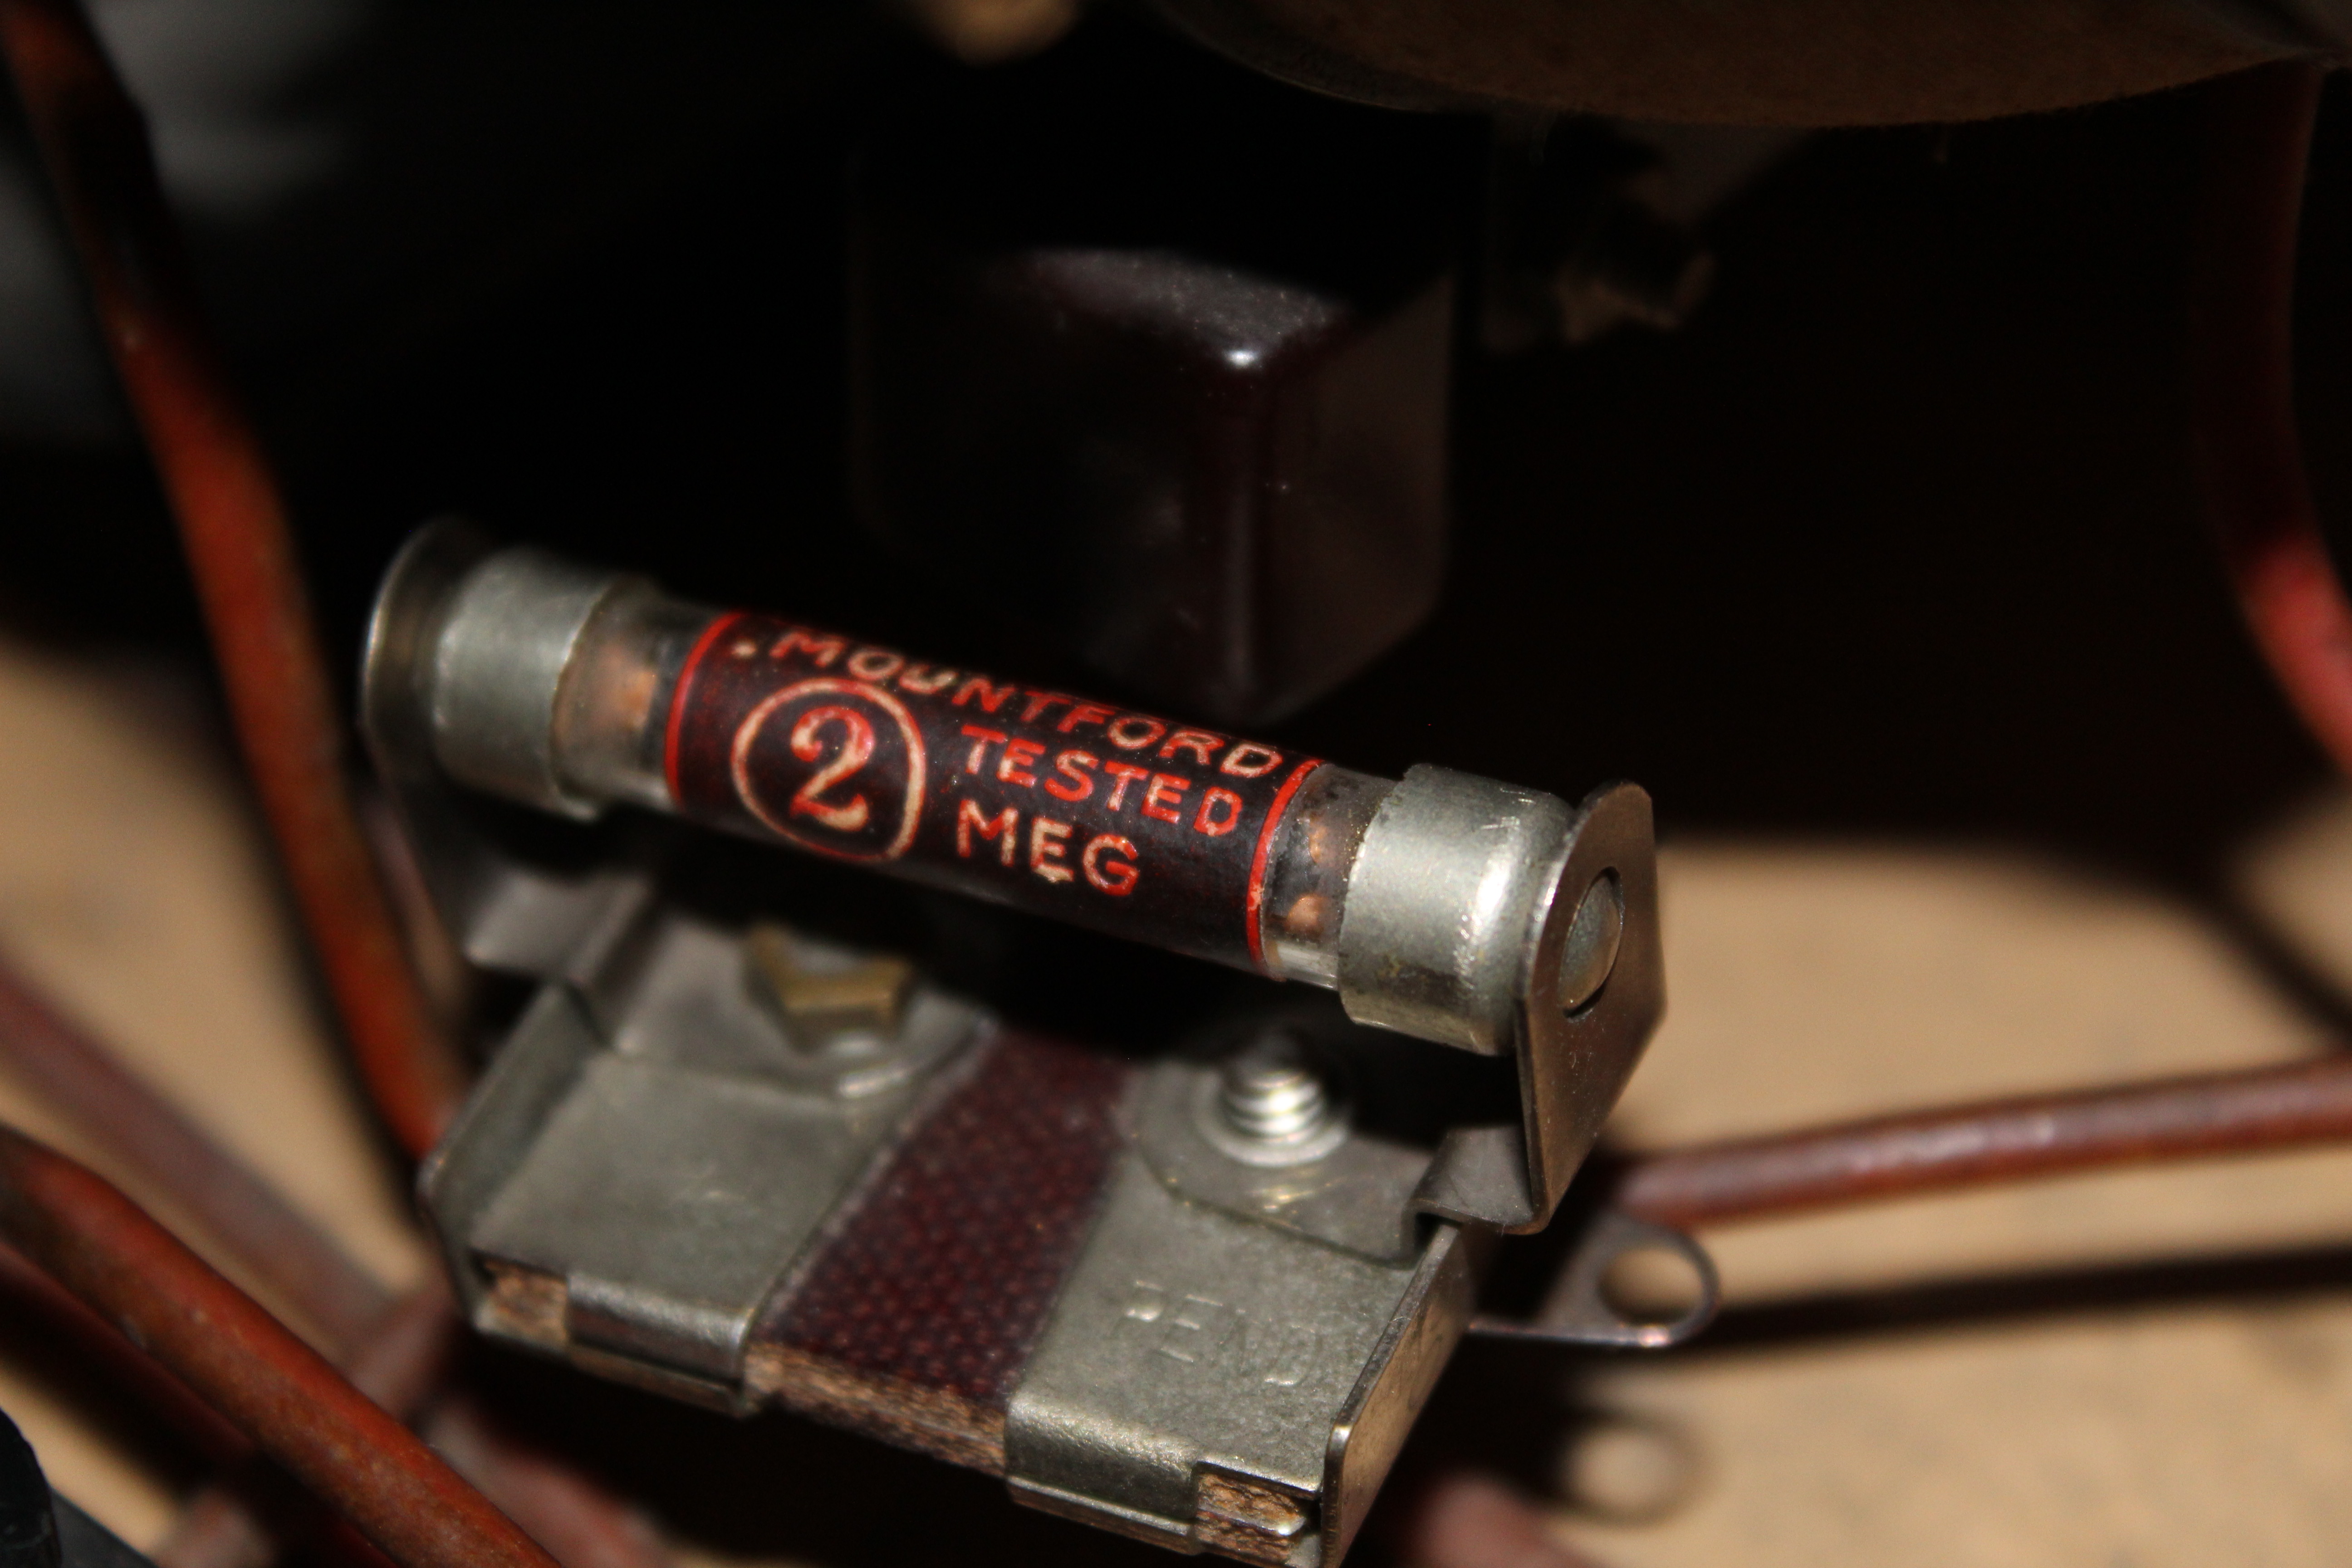
|
|
|
Checking It Out I started with the audio transformers. Both ohmed out OK so there was something to work with. Next I started tracing out the wiring looking for weak spots. Both flexible straps on the variocoupler were flapping in the breeze so I reconnected them to the body of the coupler. The 2 Meg grid leak resistor was still good. The power switch and the Bradleystat rheostat were both intermittent so they needed some contact cleaner. The Bradleystat rheostat is a different animal than the "standard" wirewound controls. It has a stack of carbon disks inside which change resistance with the amount of pressure being placed on them as they get squeezed by turning the control knob. It looked easy enough to disconnect from the radio with just two screw-in wirelugs and 2 bolts through the front panel. But I almost destroyed the thing by trying to pry the control knob off of the shaft. |
|
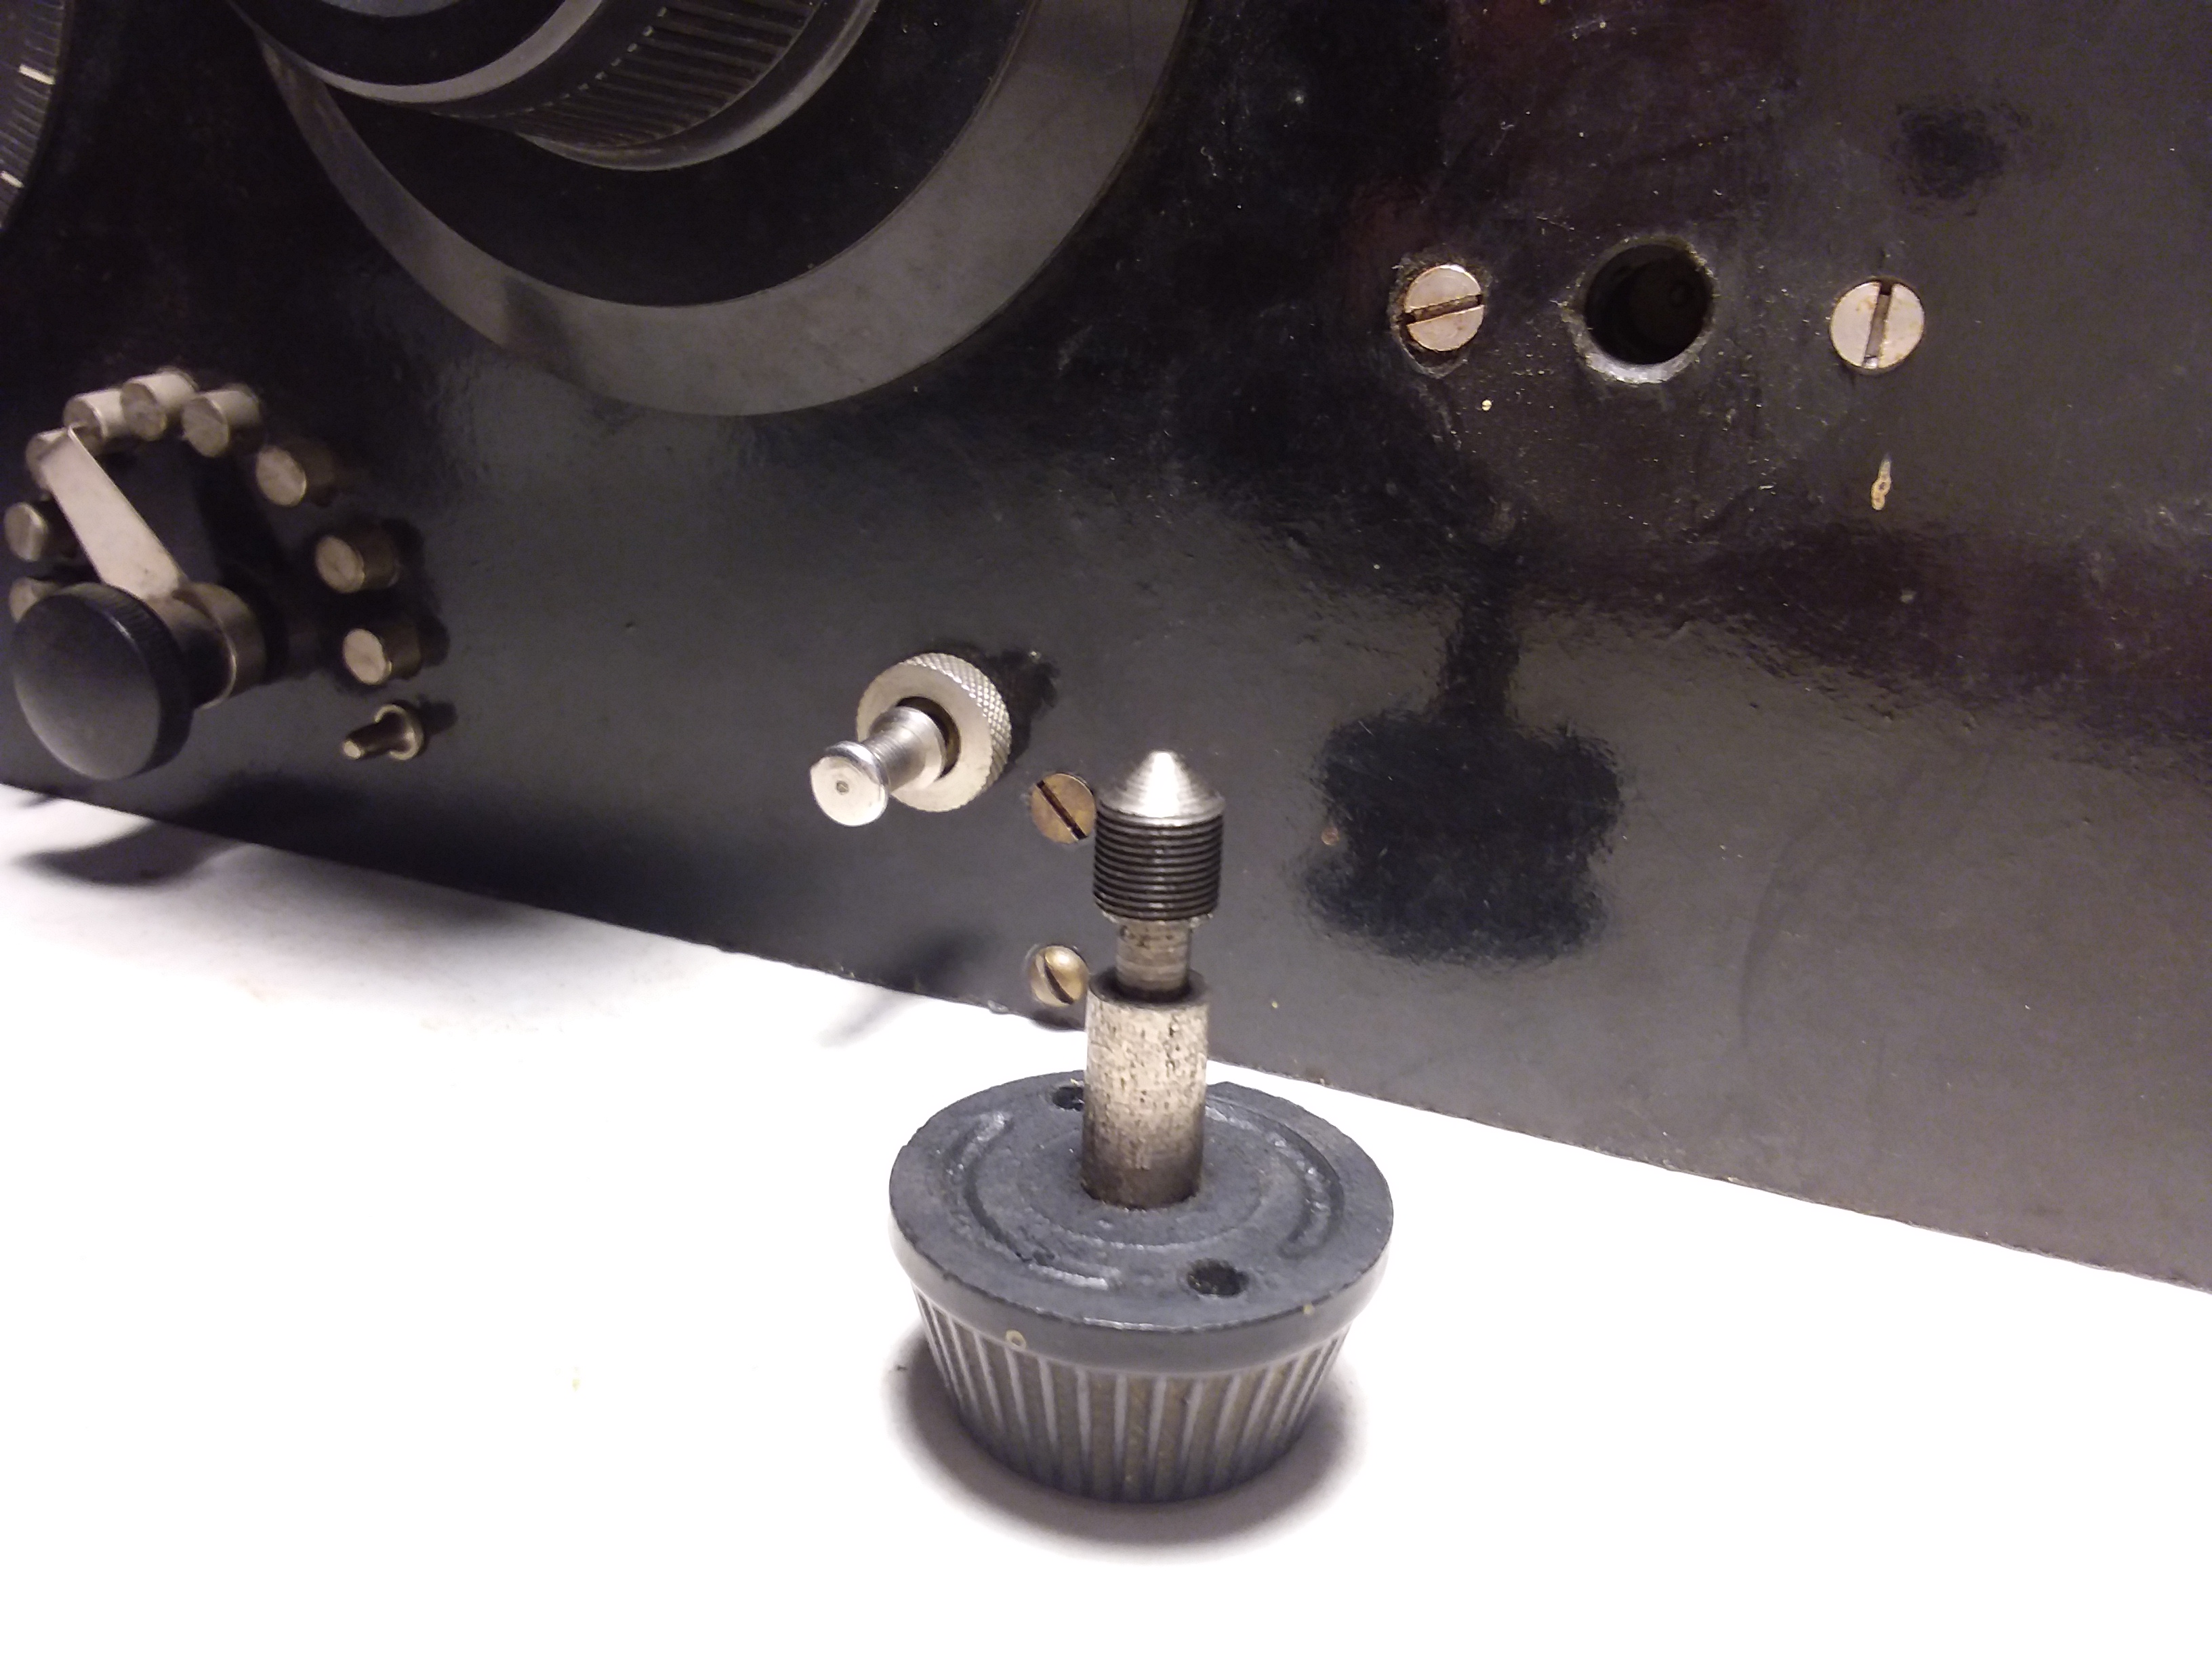
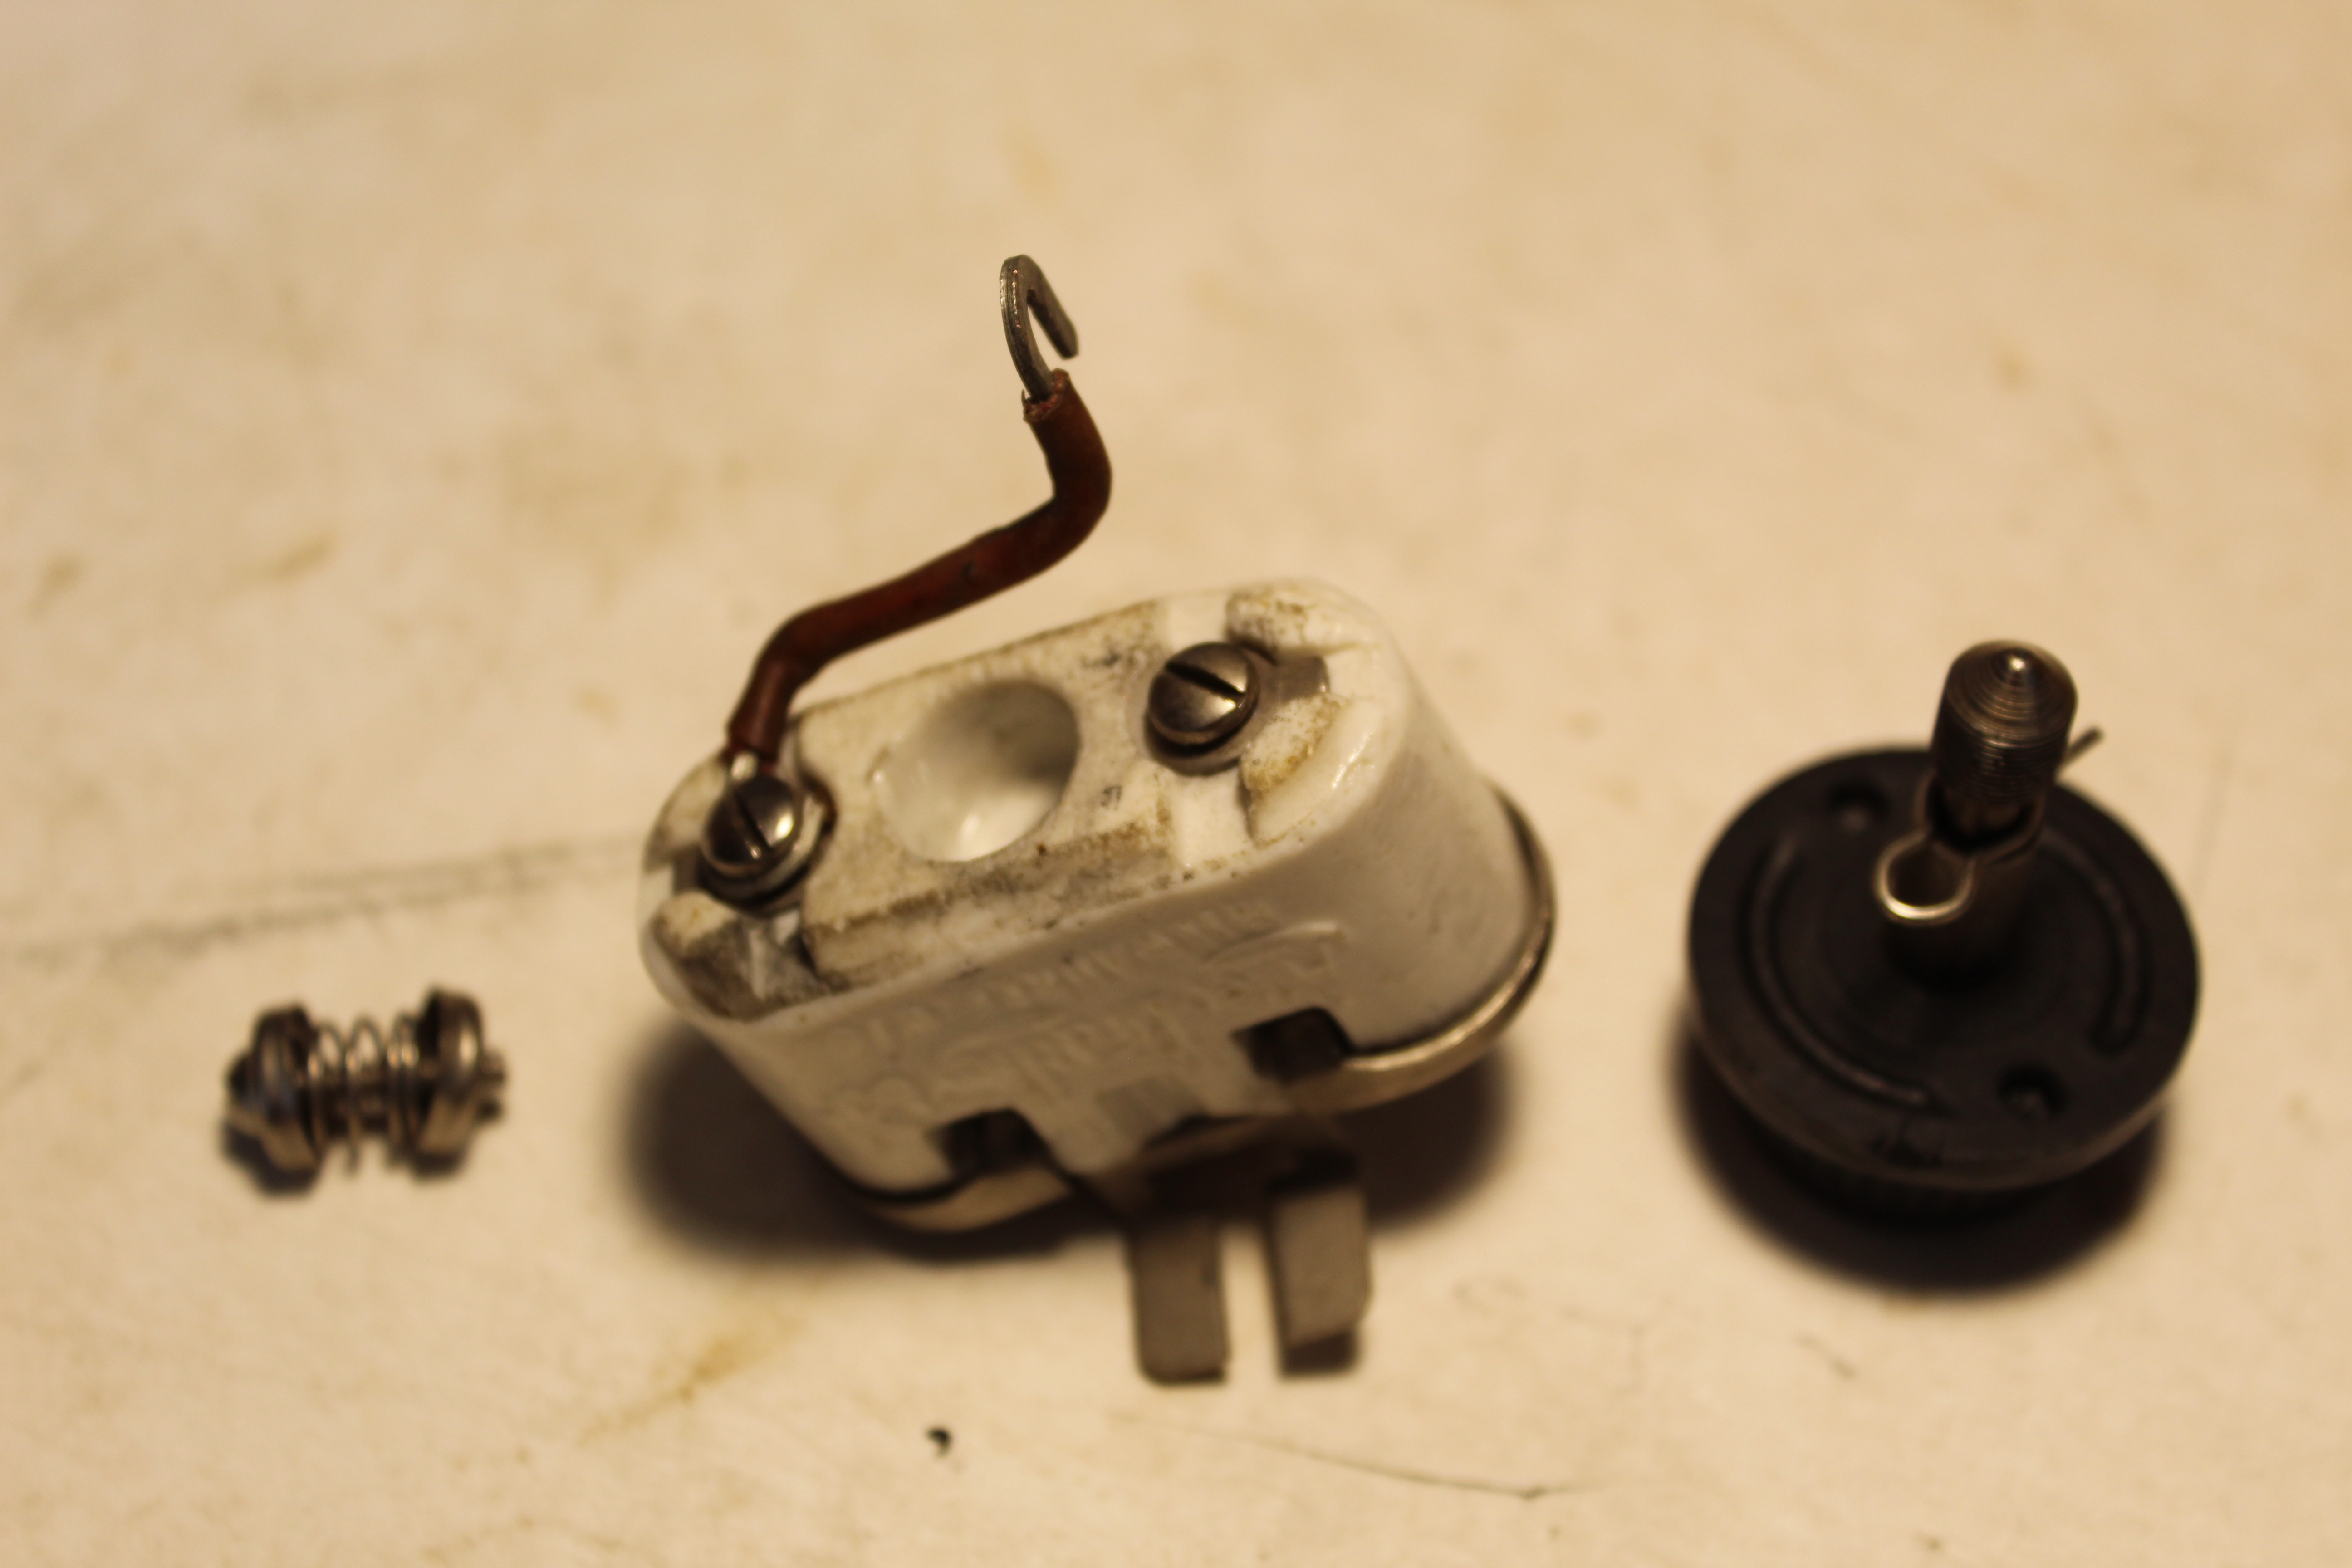 The BradleyStat screw-in knob and the control innards |
|
|
The control knob doesn't have a setscrew tightener. But neither does it slip on to the shaft. The shaft is an integral part of the control. It screws into the interior of the control and makes contact with the plates which compress the carbon discs. You don't pry it off. You unscrew it. Luckily I did not damage it in my first attempts at prying it off. So with the rheostat and power switch now making decent contact I cranked down on all the knurled knob connections and decided to test it with a UX-200A Detector and a UX-201A 1st Audio tube. I hooked up a 5V wall wart to the A battery terminals and got good filament control with the Bradleystat. I added the B+ and used a 5K -> to 8 ohm transformer from the 1st audio headphone jack to a modern speaker. I got weak hum in the speaker but only at certain tuner switch positions. I went back and rechecked continuity around the tuner switch and got varying readings all over the place. One was from a cold solder joint on one of the variocoupler taps so I resoldered it. Then I carefully pulled the tuner switch out and apart. I gave all the washers and the pointer a good scrubbing with alcohol and Deoxit. |
|
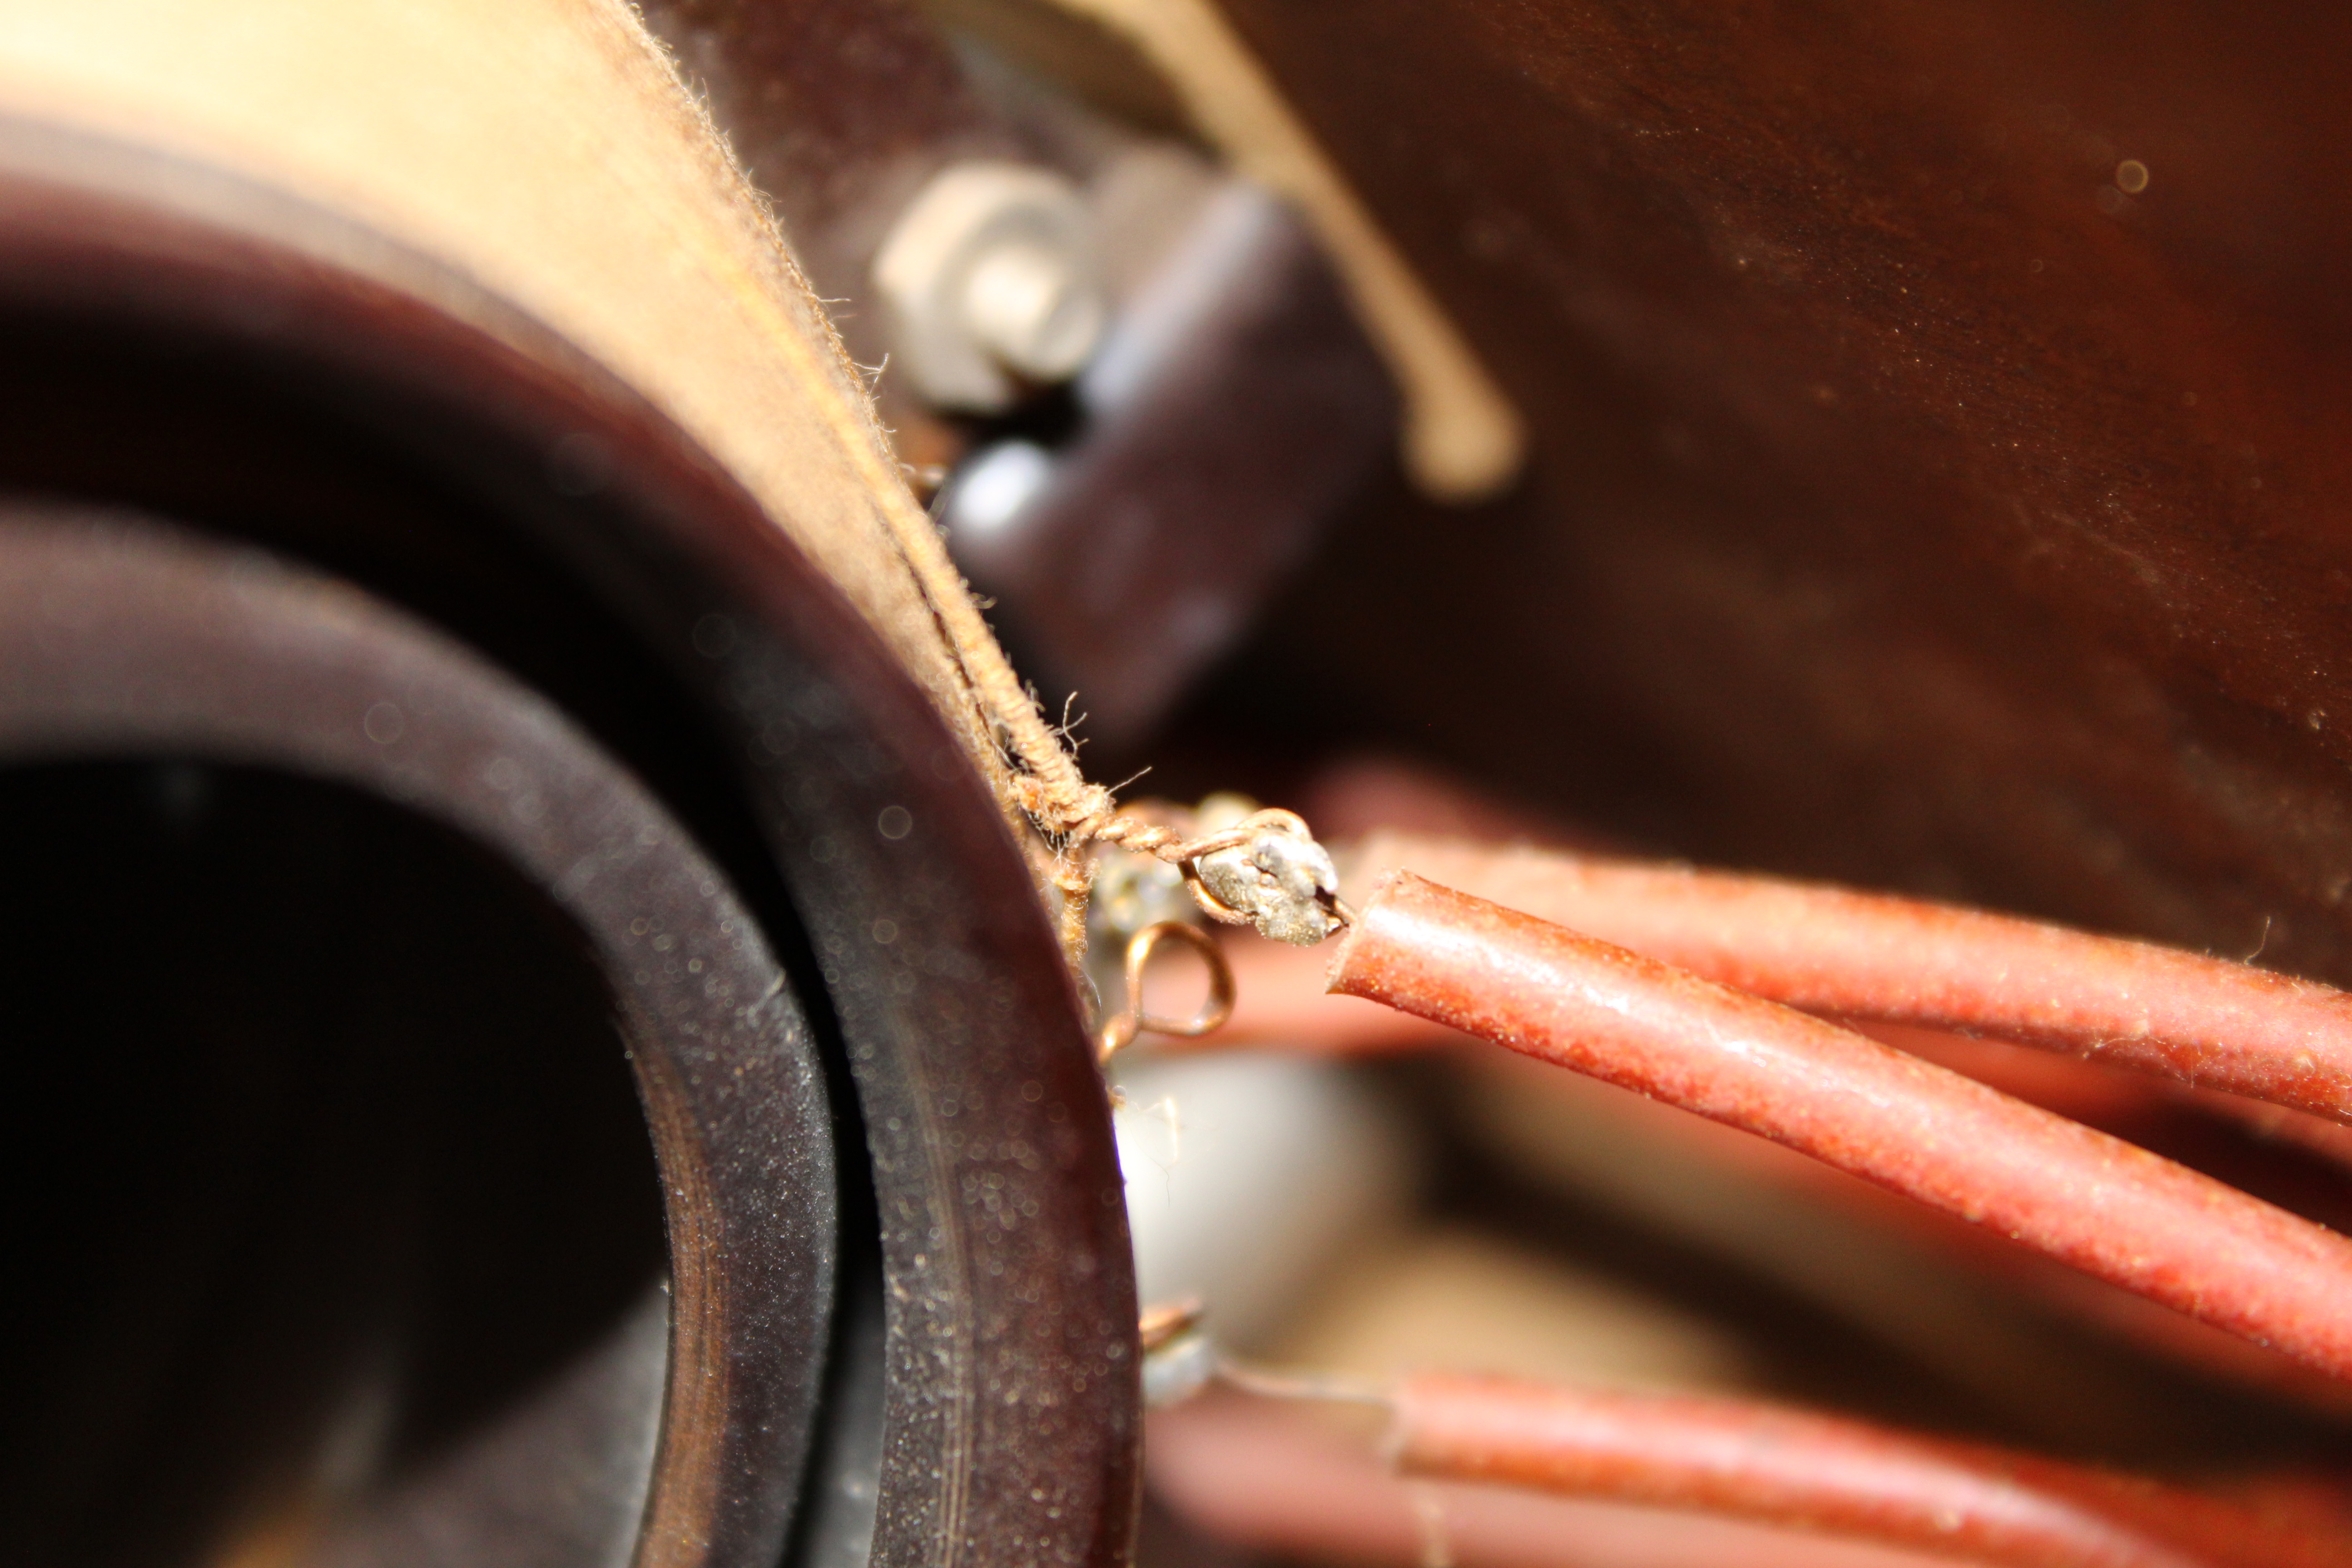
 A cold solder joint on the Variocoupler. The Tuner Switch apart for cleaning. |
|
|
I put it all back together and tried the two tubes again. Now I was getting consistent hum in the speaker on all switch positions but still nothing that could be called regenerative reception. |
|
|
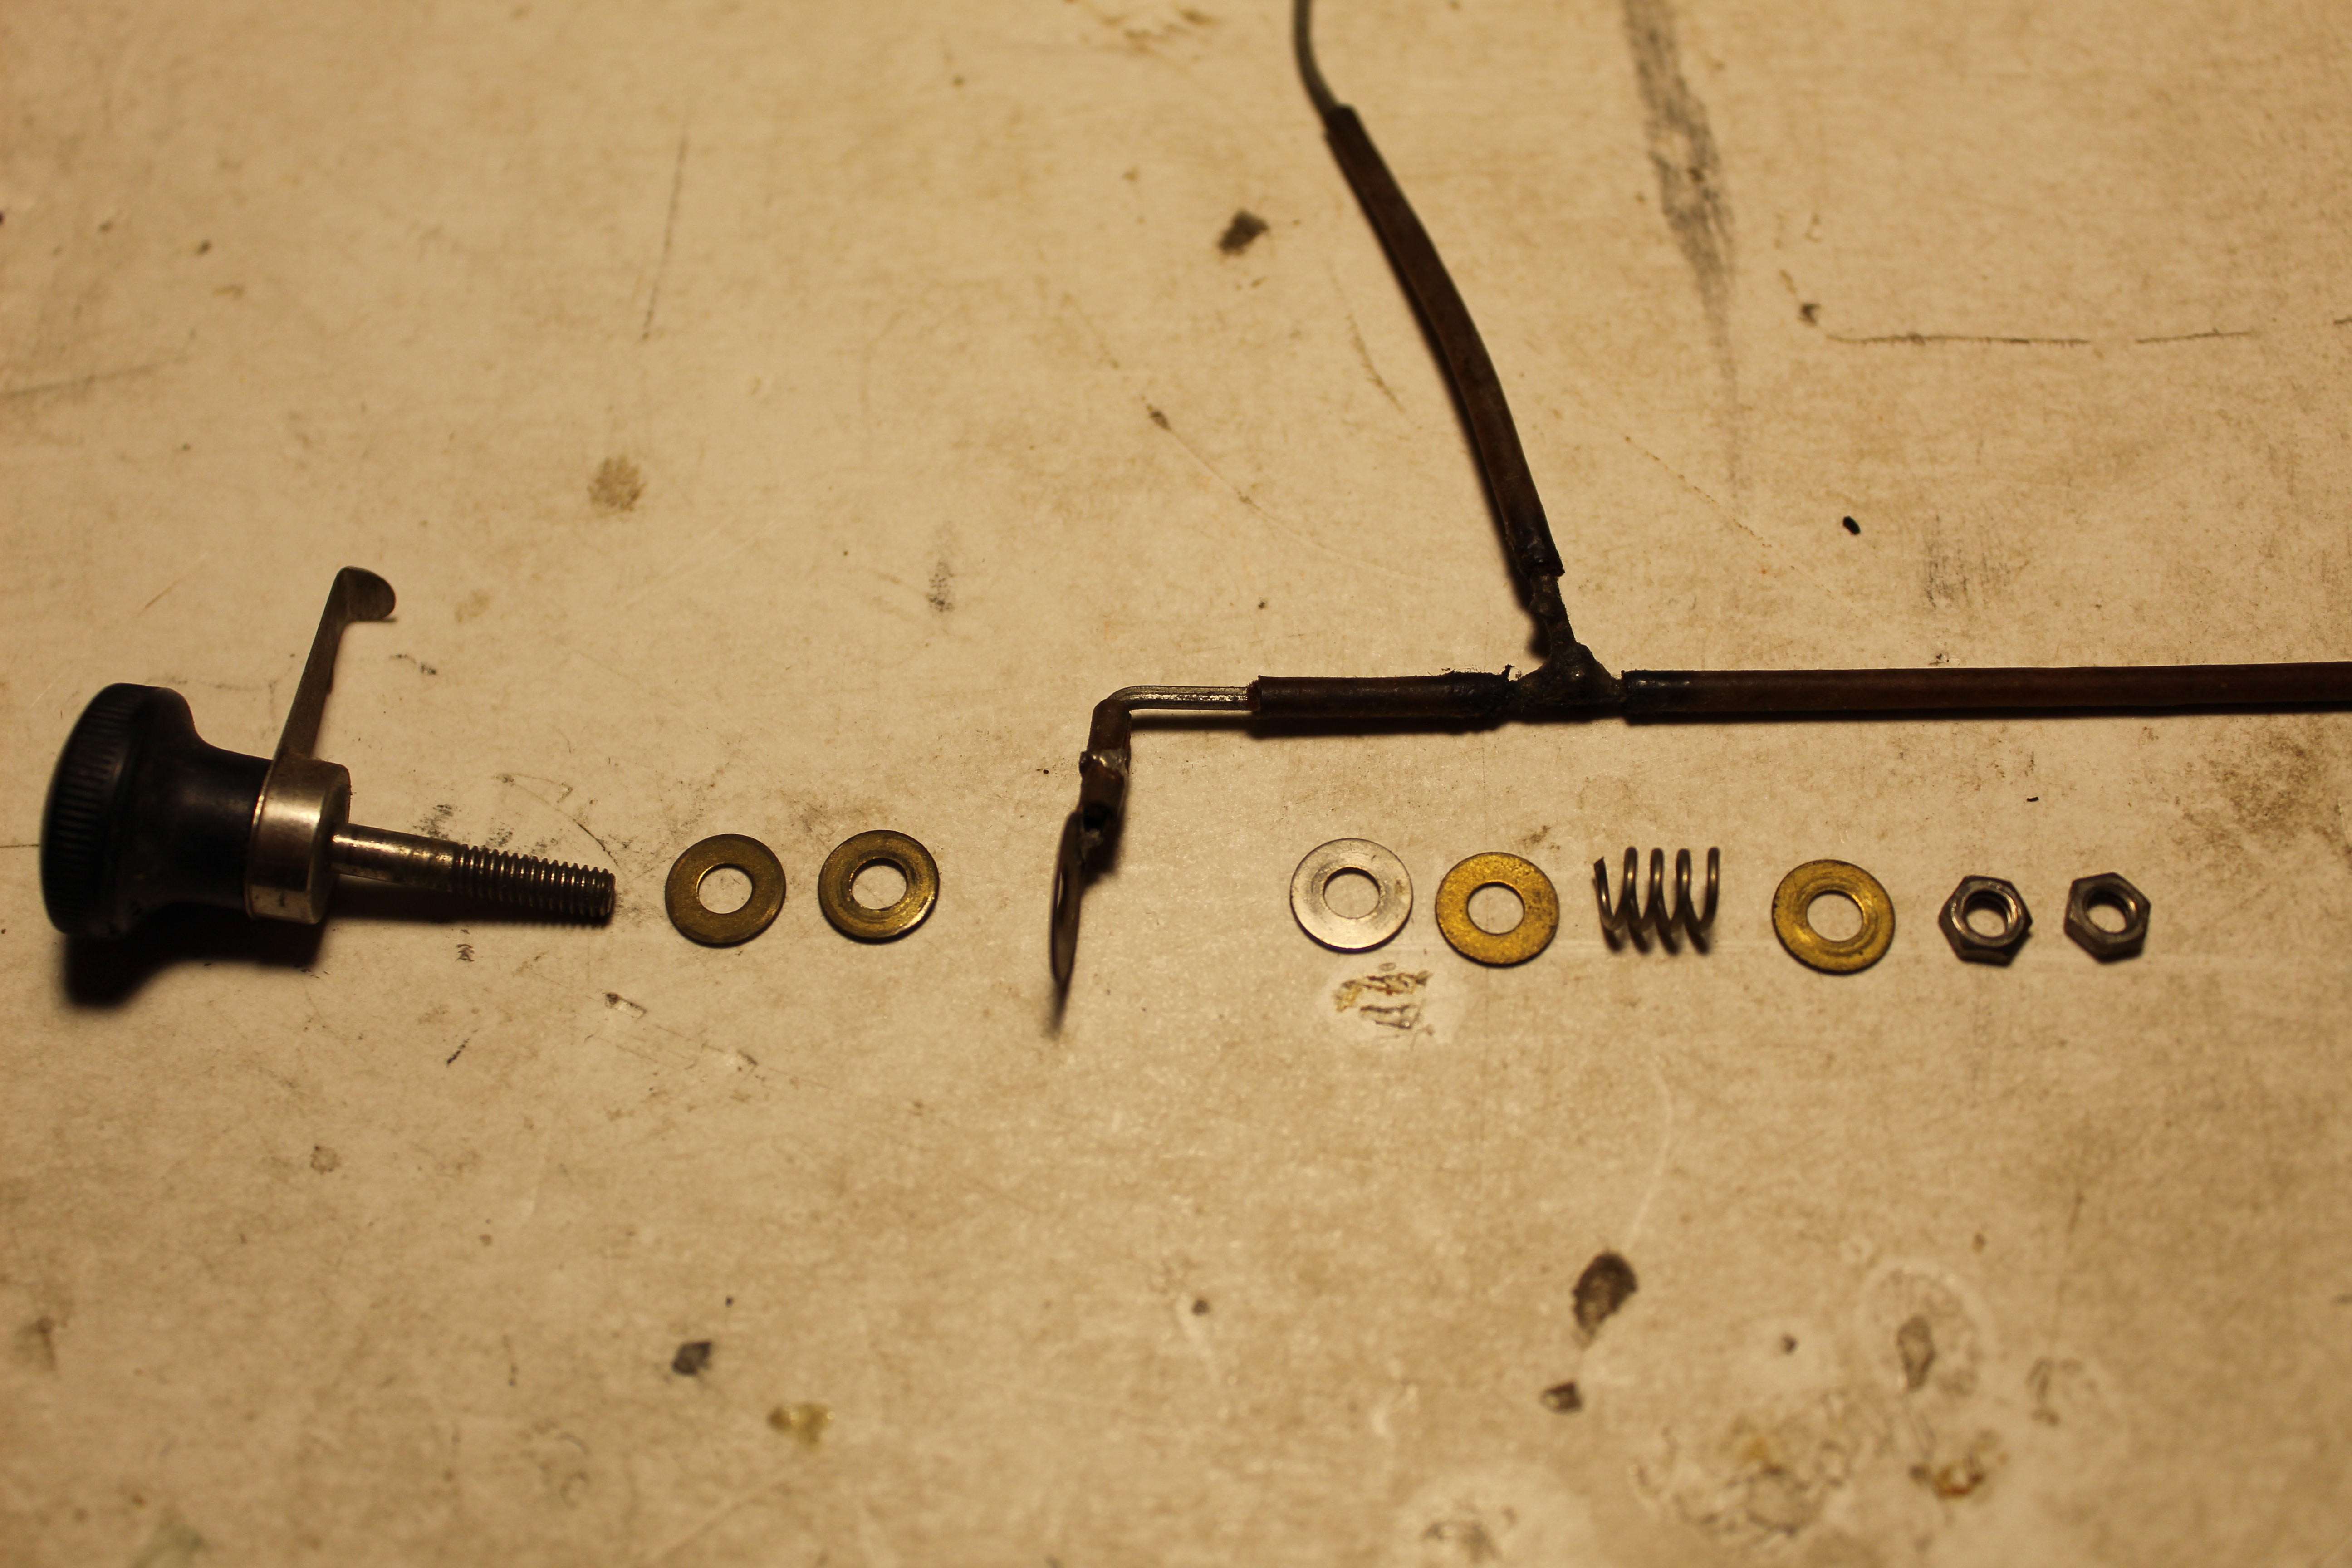
Tracing The Wires The kid who built this radio almost 100 years ago probably had a schematic to work with from one of the popular radio magazines. At first glance it looked like a single detector with two audio stages. I had nothing to go on so I started searching around for a commercial receiver that looked similar. The Crosley 52 was a pretty close match to what I was seeing so using it as a guide I started to trace out the wiring. Everything was falling into place except for the battery buss bar. The one long multi-connector bar was tying A+ to B+ to ground. That obviously didn't make sense to me but I assumed the kid who built it knew what they were doing. So I kept on tracing and came up with a schematic of a radio that shouldn't work. And in fact it didn't. Even when I added a second UX-201A for the 2nd audio output I was getting nothing but hum. Staring at the Crosley 52 schematic I realized that I was missing a return from the tube filaments to the tuner switch. Then after staring at the buss bar I realized that the long multi-connector bar had been installed backwards. I had to reshape one of the ends slightly to fit but reversing it properly connected Ground to B- and A+. |
|
 The Buss bar incorrectly installed |
|
|
I hooked the batteries up again and now I could at least hear scratching as I moved the Tuner switch through the contacts. But nothing else was happening. I fired up the signal generator and wrapping an alligator clip around the antenna wire I was able to tune in faint signals at 600kcs and 1600kcs. But nothing sounding like a regenerative signal. The 200A was the only one I had. But I had a handful of 201A's. I swapped out the Detector tube for a 201A and the radio came to life. It took some fiddling. And there's not much selectivity on the lower end of the bands. But in the late afternoon with a very long antenna wire I was listening to the news from CJAD 800 out of Montreal, and the Yankees-Red Sox game from our local WIKE 1490 in Newport. |
|
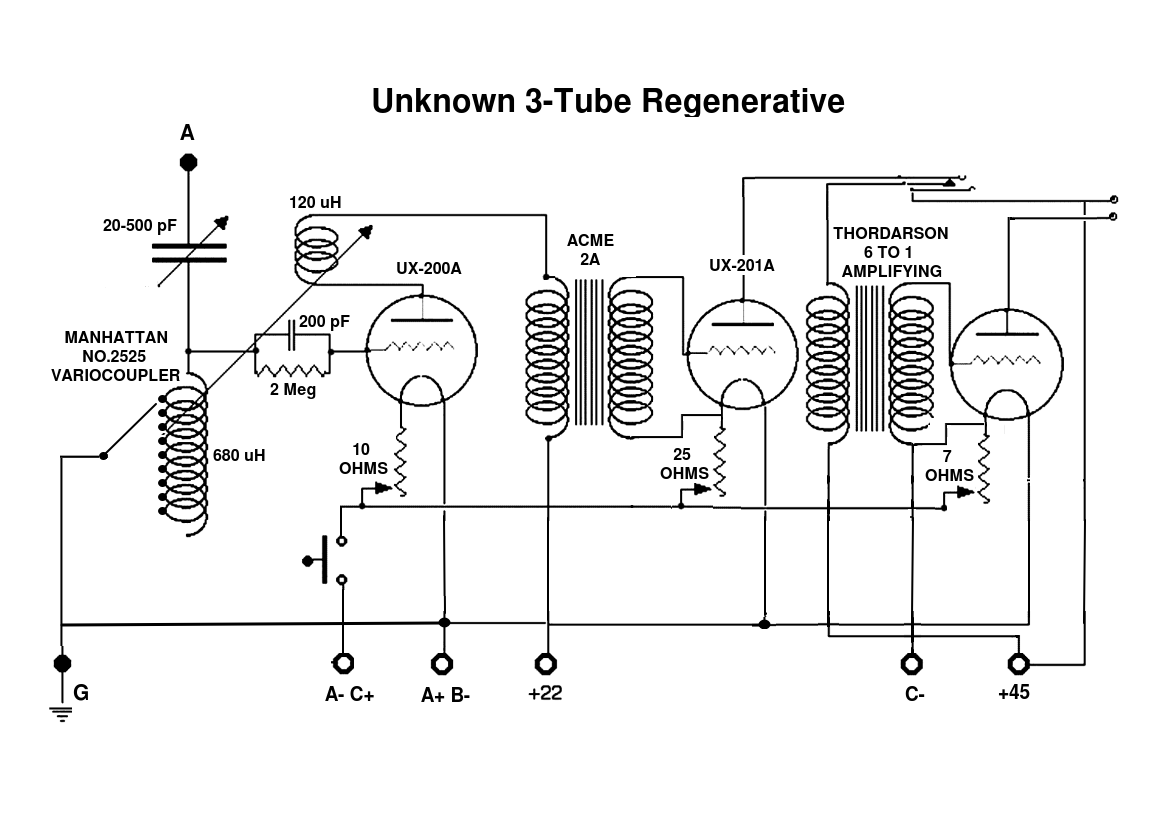 The Final Schematic |
|
|
So I will give the kid the benefit of the doubt. They were reading magazines like Radio Age and Radio World in the early 20's. They bought the parts from The Radio Bargain News or maybe Western Radio Sales out of Chicago. They followed the plans meticulously and came up with a working 3-tube regenerative radio. Somewhere over the years someone had this radio, maybe in pieces and rebuilt it with the buss bar in the wrong way. That sounds right. And I'm glad I've given the kids radio a new lease on life. |
|
 Finished |
|
 2021 WA2FXM - Mark Mohrmann 2021 WA2FXM - Mark Mohrmann |
 |